
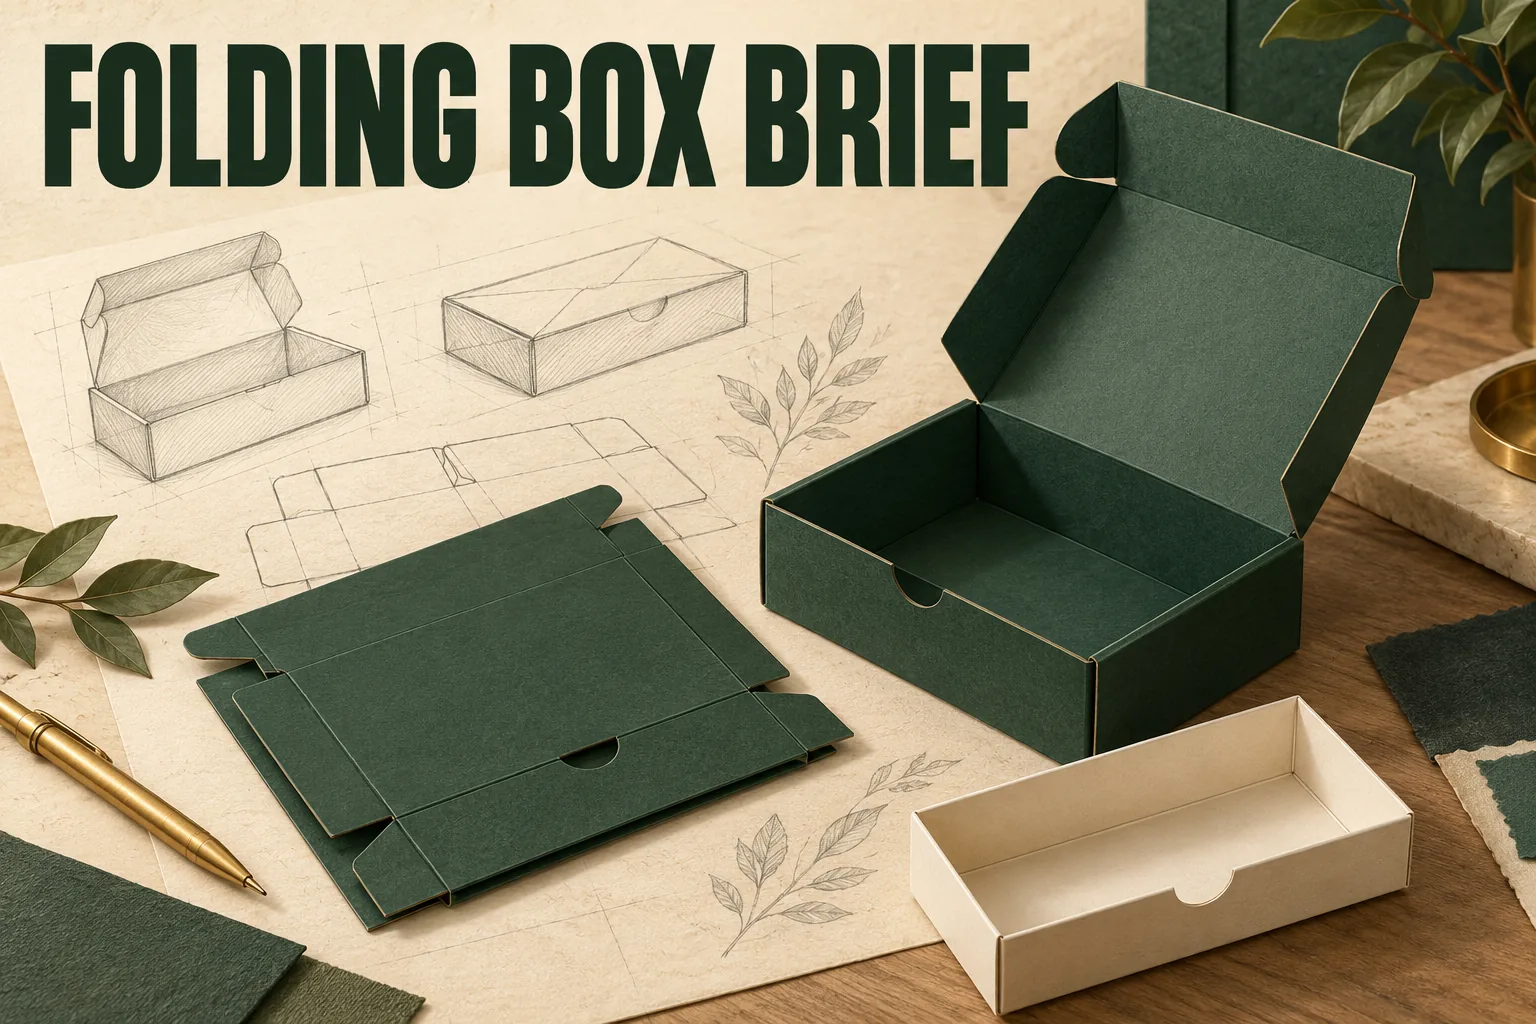
Specify a folding gift box by its complete contents, finished usable interior, closure and supplied state. Request the remaining assembly steps with the drawing. This lets you compare the box as it will arrive and as it will be used, before approving artwork or assuming a storage advantage.
View the full-size planning illustration
A paperboard carton and a collapsible presentation shell can leave different forming work at your packing bench. A rigid, already-formed lid-and-base set provides a non-folding delivery comparison. A lid-and-base format alone does not tell you whether its parts fold. Describe the opening and the supplied state separately.
Begin with the formed box and its complete contents
Arrange the product, insert, card, tissue and accessories as one intended gift. Measure that arrangement and identify which surfaces require support or clearance. Give the supplier product dimensions separately from the interior you want it to propose.
Include the loaded weight and any projecting or fragile features. Weight alone won't choose a board or closure. The supplier needs the actual construction request and a defined sample review, especially when a vessel or a tall accessory changes how the base is loaded.
A folding carton and a collapsible magnetic gift box are useful directions to compare. Keep their drawings and forming steps distinct. A magnetic closure doesn't establish that every wall collapses or that the box can be delivered in the desired state.
PakFactory's rigid-box catalogue lists collapsible, detachable-lid and sliding constructions as different styles. That catalogue supports the terminology, not availability or performance for a Packrivo project. Your offered drawing must identify the actual parts and joints.
Describe the state received at the packing bench
Ask what arrives: loose blanks, collapsed shells, partly formed boxes or assembled boxes. Add the supplied state of the insert and any fastening pieces. An assembled shell may still require local insert fitting and final packing.

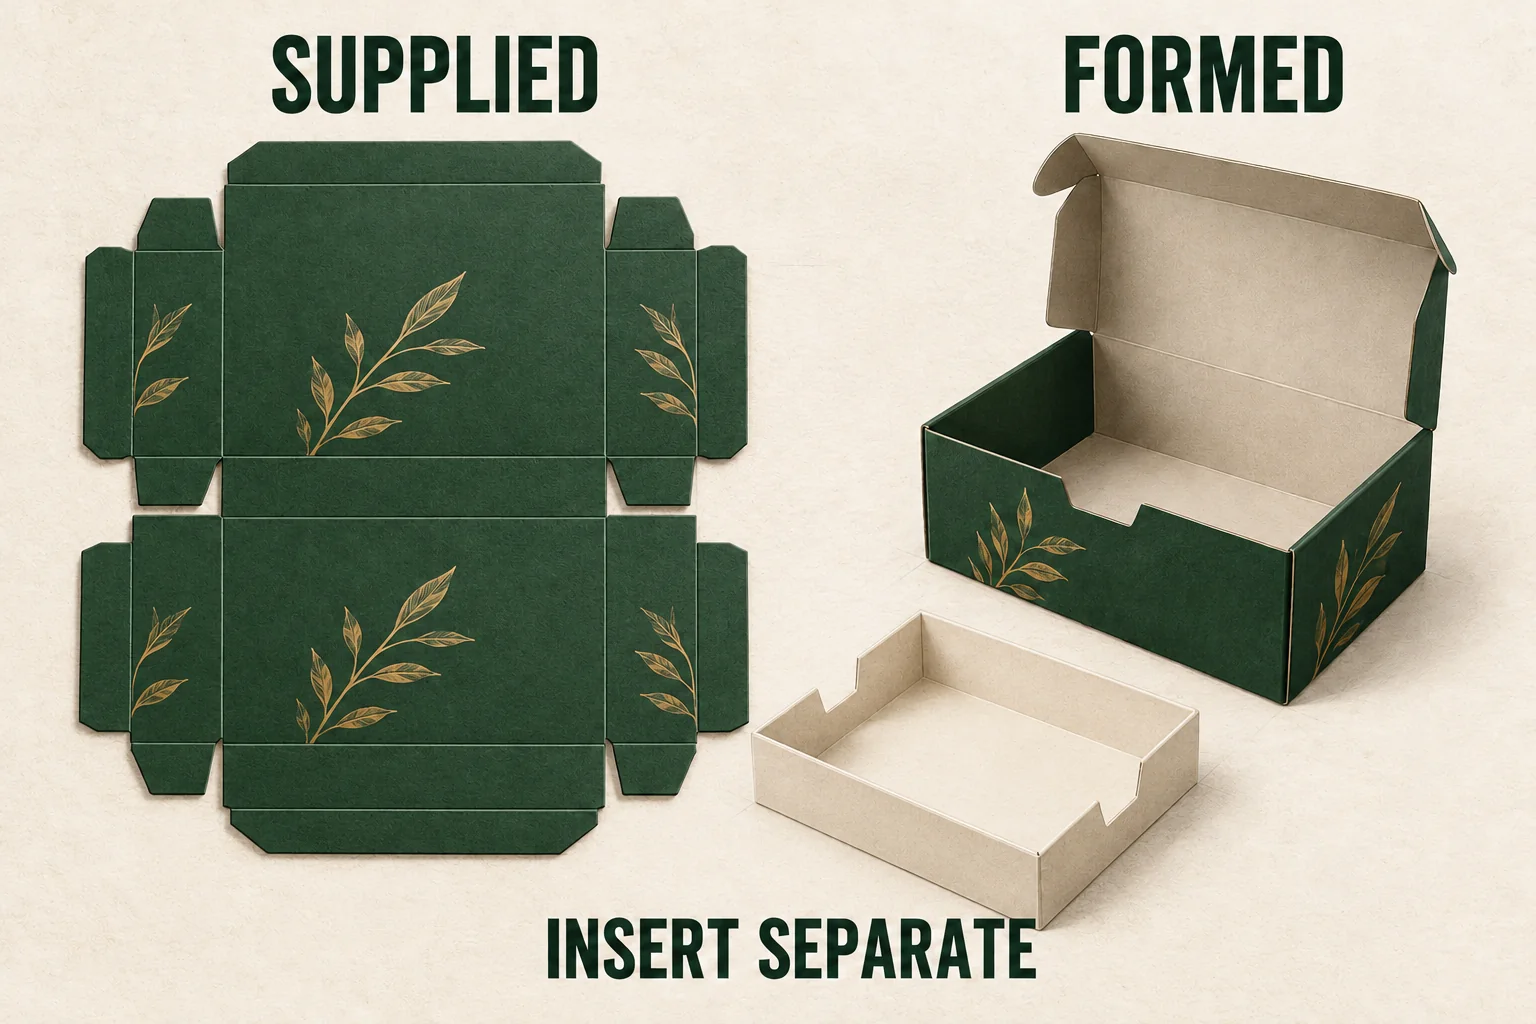
Request a view of the delivered unit and a view of the formed empty box. Identify prepared joints, moving folds and any adhesive or separate tool used during setup. State which person or business performs each remaining operation.
The finished interior and delivered bundle dimensions belong in separate fields. One governs product fit; the other helps plan receipt, storage and freight discussions. Freight charges require the actual carton data and service scope, so don't calculate a saving from the word flat alone.
For operational comparison, carry those facts into the flat-versus-assembled work guide. This specification stage establishes what is being supplied; that later review asks whether your team can handle it.
Compare proposals using a shared specification sheet
Use the same contents reference for both proposals. A different material or closure should appear as an explicit difference, even when both options are called folding gift boxes.
Scroll horizontally if columns extend beyond the view.
| Specification | Request from each proposal | Evidence needed next |
|---|---|---|
| Complete contents | Product, insert, card and wrap identities | Layout showing every included item |
| Finished interior | Named usable dimensions and their measurement basis | Formed, loaded sample |
| Structure | Panels, base preparation and closure | Current drawing and setup demonstration |
| Delivered state | Supplied parts, prepared joints and remaining work | Delivered-state view and instructions |
| Decoration | Printed panels and proposed finish locations | Artwork on the selected drawing |
| Packing scope | Assembly owner and component inclusions | Written quotation and handover |
Keep a question separate from an accepted requirement. A supplier proposing a different base needs to identify what changed and which checks should be repeated. Retain the original request so the alternatives remain understandable.
Plan an assembly comparison before timing it
Planning example: compare two proposals for 500 gift boxes of one design. Proposal A arrives collapsed with the insert separate. Proposal B arrives formed, also with the insert separate. The number is a planning scenario, not evidence that a supplier accepts the construction or quantity.
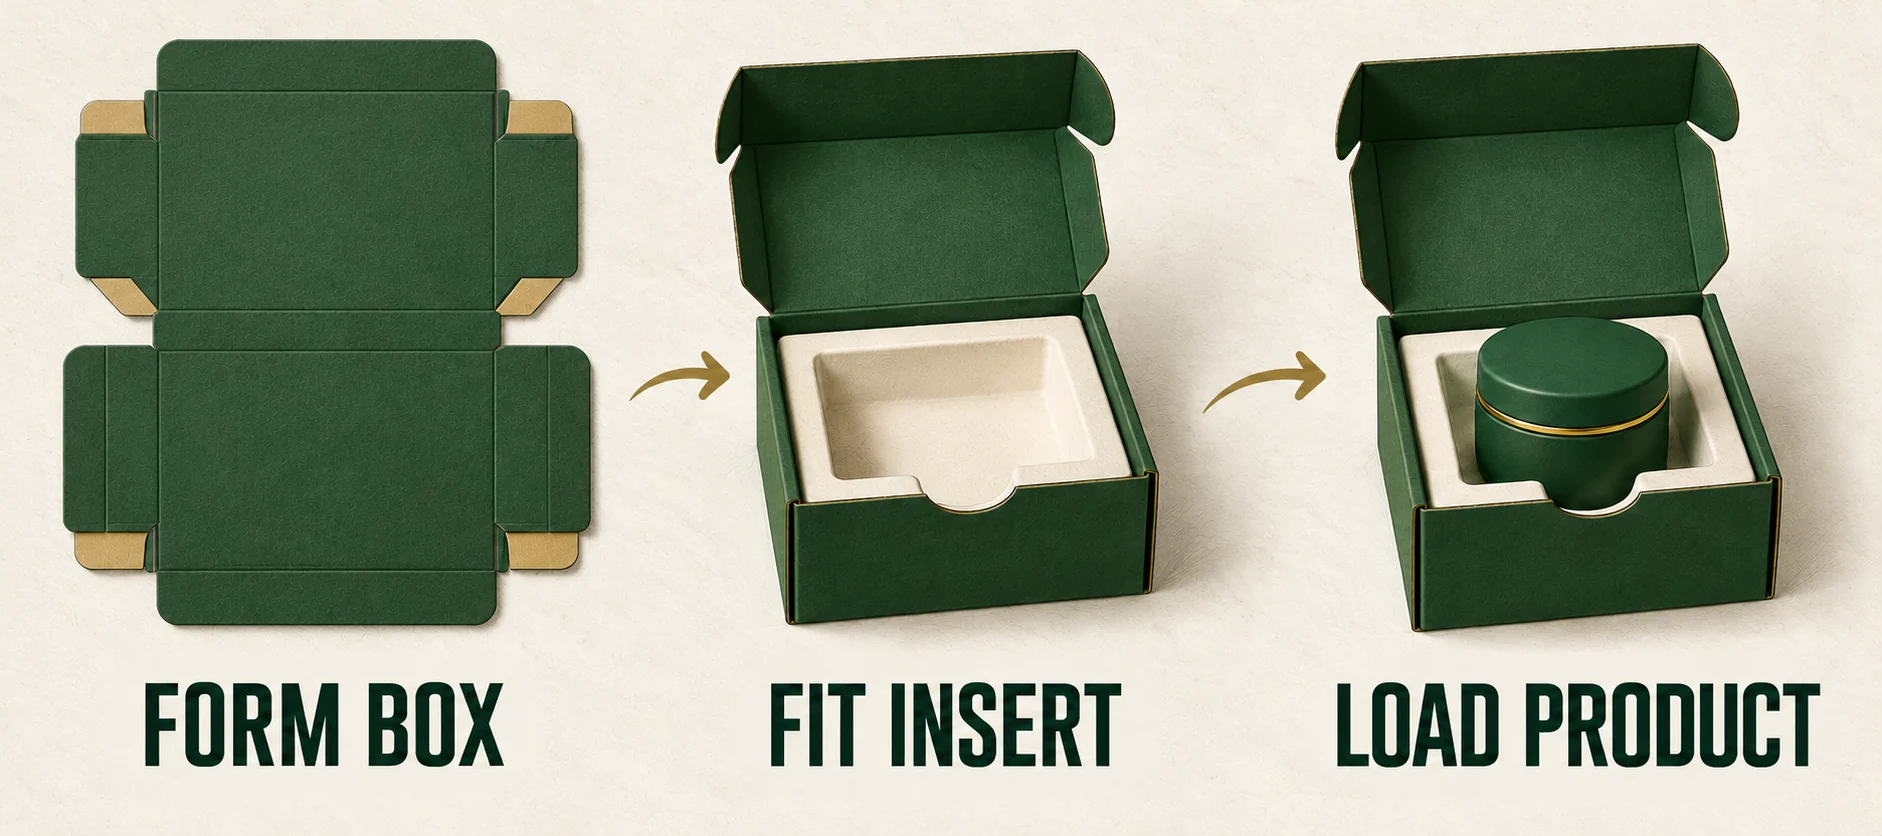
Both routes still require insert fitting and product loading. Only A currently includes local shell forming. List those operations first; comparing A's full setup against B's insert fitting would otherwise hide the difference in the starting state.
Suppose you plan a 10-box assembly trial for each route. Give the trial the same finish point: empty boxes with their inserts installed. Record setup instructions, supplied parts, operator and interruptions before using any duration. No packing-rate or labor saving exists until that work is actually observed.
Also reserve the question of working space. A collapsed shipment can become formed stock waiting beside the packing bench. The supplier's delivered volume doesn't describe all storage needed during your own operation.
Put artwork on the selected construction
Identify the current structural drawing before placing logos or finish elements. Name the front, rear, inner and tucked panels, plus areas affected by folds or joints. Ask the designer to show how important artwork appears after forming.
Esko's Studio documentation separates structure, a matching keyline, artwork and the rendered representation. The practical consequence is to keep those references connected. A convincing perspective image doesn't supply a usable dieline.
Review a structural candidate for setup, loading and closure. Request a representative printed or finished sample for the physical appearance decisions the blank version cannot answer. Keep the material and artwork versions with each result.
If a finish crosses a fold, inspect the relevant formed panel. If a card rises above the insert, close the complete sample with that card present. Those checks reveal relationships that a flat file or empty box can leave hidden.
Ask for cartons per shipment, units per carton and the dimensions of each packed carton once the delivery proposal is defined. Keep estimates labeled until the supplier measures the actual packed arrangement. A formed box shown alone doesn't establish how many fit into a shipment, while an empty shipping carton doesn't show whether surface protection or inserts reduce that count.
Record the selected state before requesting the next quote
The final specification should name the chosen structure, contents, finished interior, delivered state and remaining assembly owner. List open questions beside the owner who can resolve them. A field left as a proposal is more useful than an unsupported statement that the box is ready for packing.
Before comparing prices, ask whether inserts, fastening parts, assembly and shipment packing are included. Keep the specified sample and delivery state with the quotation revision. Changing either can change the work being bought.
Use one current record for the next drawing, sample request and commercial discussion. When a supplier changes the board, closure or delivered preparation, identify the affected rows before carrying forward a previous decision. That keeps the chosen box connected to the arrangement that will actually reach your team.
Send the structure and delivery questions through a folding-box project inquiry.