
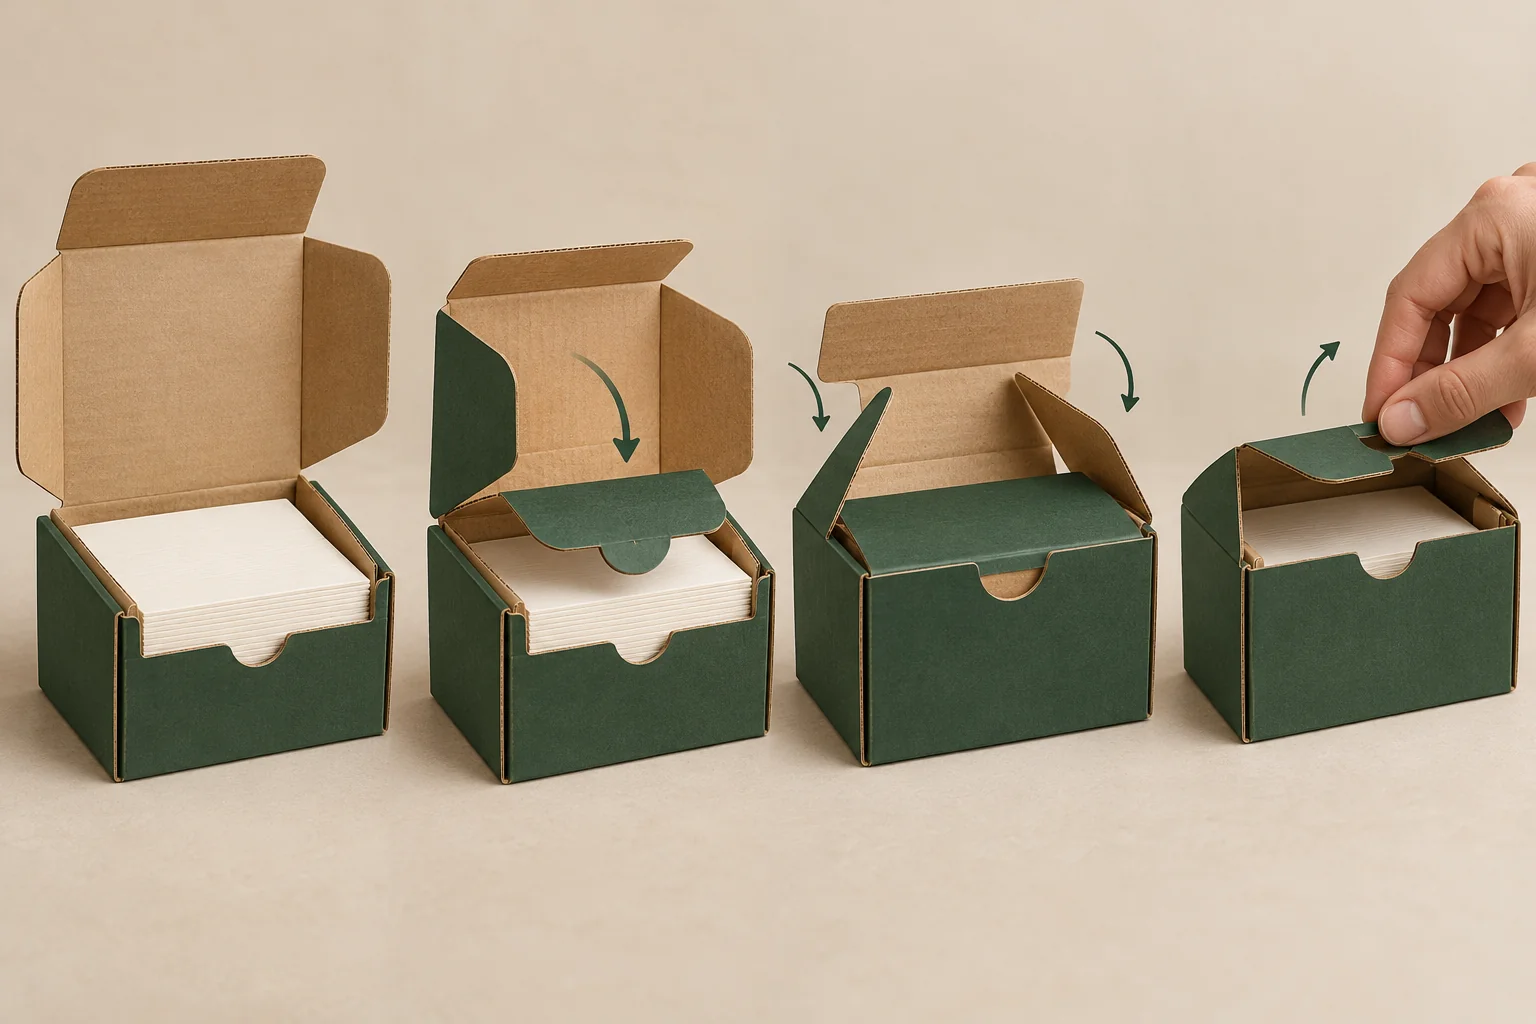
Treat the illustration as a concept until the supplier confirms the actual blank and lock arrangement. The proposal should show the parts in their formed positions.
Identify three flaps on the actual blank
The three flap lock reference establishes the named corrugated format. Ask the supplier to mark all three flaps and their receiving features on a working drawing. Keep those names in the sample instruction.
Show which panels form the body before the lock actions begin. If rolled walls are part of the proposal, identify their final positions as a separate setup stage. Don’t use the word lock to describe every fold in the pack.
Record whether staff load through the open top or another specified end. The contents should be placed at the intended stage, not added after a demonstration that only works on an empty pack.
Check each engagement with contents present
For a hypothetical accessory gift, load the holder and card before the confirmed closing steps. Photograph the position immediately before each named flap engages. Check whether an inner card or another flap blocks its route.
After each action, identify the expected final position from the proposal. A reviewer should be able to see which receiving feature is used. If engagement remains hidden, ask for an appropriate inspection view rather than assuming it is complete.
Open the pack using the proposed customer route. Keep the release sequence distinct from assembly; reversing every packing action may not be the intended customer behavior.
Use a three-flap sequence sheet
The rows are a recording structure, not a generic instruction. Fill the actual order from the supplier-confirmed proposal.
| Named stage | Part relationship | Evidence or open question |
|---|---|---|
| Body formation | Walls in intended positions | Empty formed view |
| First confirmed lock action | Named flap and receiver | Before/after engagement |
| Second confirmed lock action | Named flap and receiver | Access with contents present |
| Final confirmed lock action | Named flap and receiver | Completed closure view |
| Customer release | Grip and opening order | Loaded release sequence |
If a lock works only after pressing another wall inward, record that extra action. It may belong in the instruction or be a configuration issue for the supplier to assess.
Review supply and compare the packing job
Confirm which seams or joints arrive prepared and whether any additional closing material is proposed. Keep the corrugated grade and print surface tied to the sample. A separate sealing requirement should remain visible even if the catalog uses a self-locking name.
Use other mailer formats when fewer lock actions or a different opening route could suit the same contents. The comparison should use actual setup work and product access rather than promises of secure delivery.
Inspect the named flaps and product after opening. Fit and engagement observations give the supplier useful context; any repeated-use or distribution requirement needs its own agreed review.
Send the lock order and release job
Bring the marked blank, full contents, sequence sheet, quantity and destination to Get a Quote. Packrivo’s minimum is 500 pieces per design. Final construction, sample scope and commercial terms are confirmed for the project.