
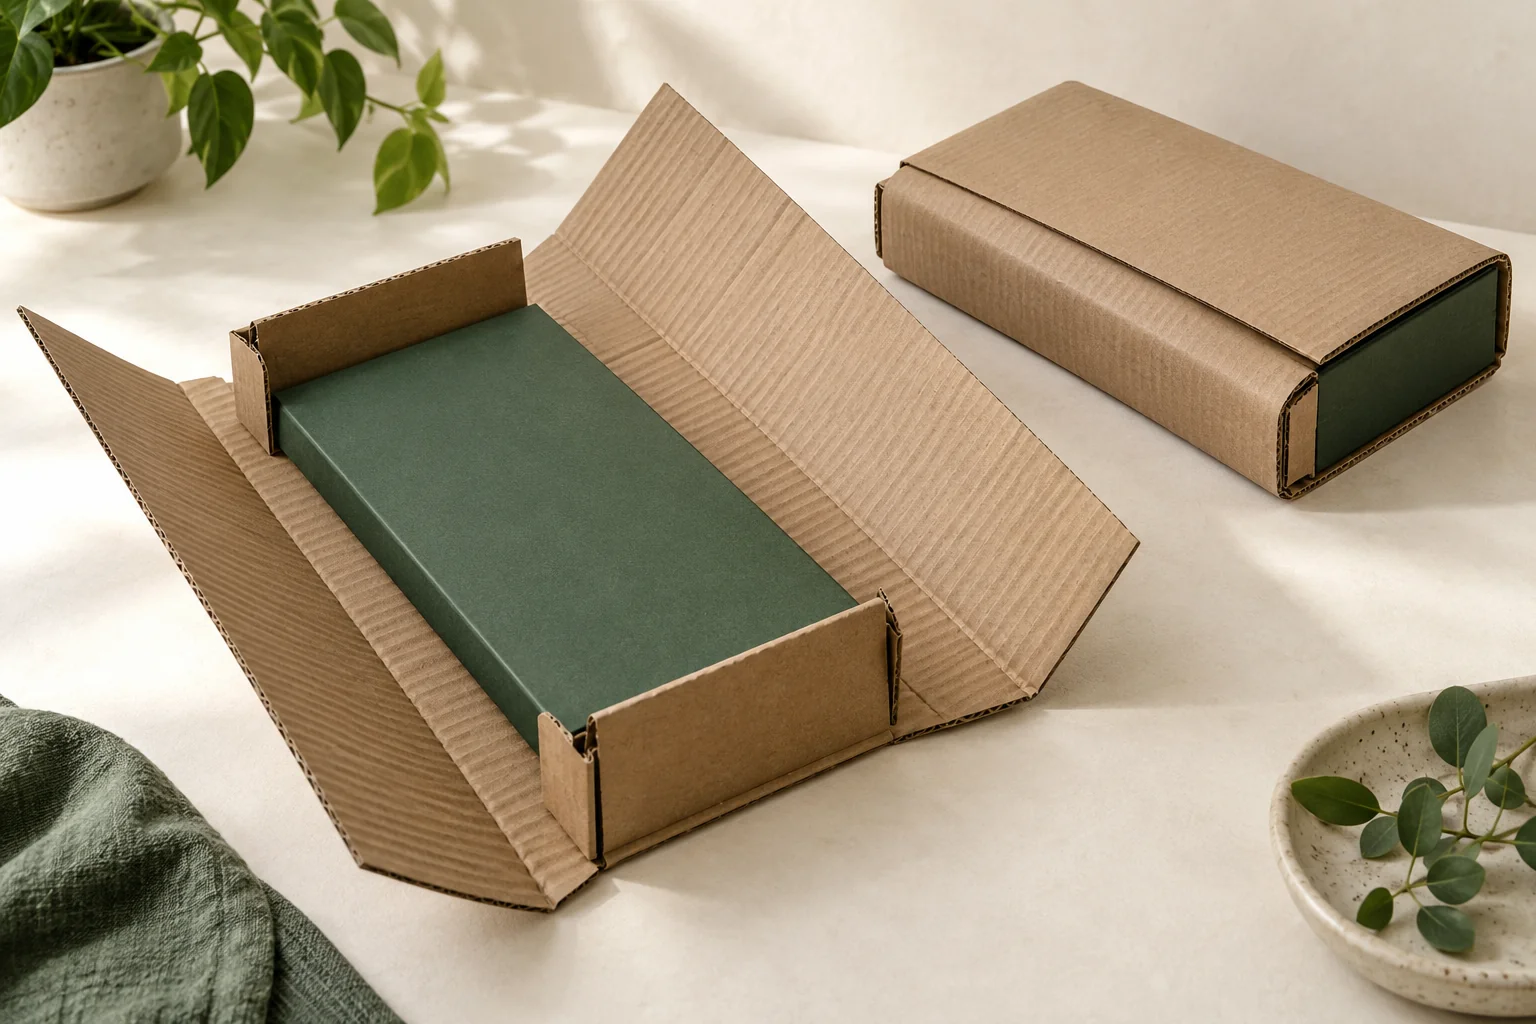
Concept / packaging option. AI-assisted visuals explain the structure; final materials, production details and sample scope are agreed for the project.
Start with the packed thickness
Measure the product in the form that will be wrapped. A protective cover, print bundle, card or additional paper layer can change its thickness and the surfaces it presents to the mailer. If several configurations are planned, list them separately rather than describing them all as one flat item.
Ask for the fold pattern and the route taken by each panel. The proposal should show where the product sits, which panels cover its faces and how the edges are enclosed. Any selectable fold position needs an explanation of the intended range and how the packing team chooses it.
Locate the closing joint after the wrap has been formed. The tape or proposed sealing component belongs in the specification, along with the surface available for the shipping label. A rendered exterior should not substitute for a drawing of the loaded wrap and its closing work.
Compare wrapping with loading a box
A front-tuck mailer is loaded into a formed box with its own closing flaps. A book-wrap option forms around the contents, which changes the packing order and thickness discussion. Compare those actions and the product geometry rather than assuming a wrap is suitable for every thin gift.
For an illustrative notebook-and-card set, the loose card may need to be placed inside a cover or otherwise located before wrapping. A loose item that slides into the closing seam creates another review question. Record that arrangement instead of adding a generic instruction to use more packing material.
Brief the folds and closing route
| Input | What to record |
|---|---|
| Product | Length, width, complete packed thickness, weight and sensitive corners. |
| Arrangement | Covers, bundles, cards and the position of every loose component. |
| Wrap | Proposed fold pattern, panel coverage and edge enclosure. |
| Closure | Joint location, sealing supplies and the customer opening route. |
| Files | Artwork, shipping information area and named construction drawing. |
| Scope | Design quantities, destination, supplied state and review requirements. |
For changing product thickness, identify the configurations the sample review must cover. The measurement method worksheet helps name where thickness is measured and which condition applies. A nominal product size may omit a cover, projecting corner or packing layer.
Review wrap formation and access
- Prepare the complete product arrangement.
- Place it at the proposed location on the flat wrap.
- Fold the panels in sequence and inspect the edges and corners.
- Seal the joint using the intended method.
- Open the package and remove the contents by the intended customer action.
- Define a route-specific transport review for the complete pack.
Record a corner gap, unexpected crease or difficult opening as a feature-level issue. If a different fold position or closing material is proposed, review the resulting pack again. Changes should remain connected to the thickness configuration that prompted them.
Prepare the proposal without assumed savings
Packrivo’s order planning policy is 500 pieces per product / design. Identify the wrap, sealing component, printed extras and sample work in the scope. Actual carton data and the selected route determine the freight discussion; final construction, price, production conditions and delivery timing are confirmed for the project.
The FEFCO construction reference provides a shared way to identify folded corrugated designs. Have the supplier identify the proposed wrap drawing, fold positions and closing method, then review that configuration with the complete contents.
Get a Quote with the thickness configurations and closing route. Packrivo helps clarify the wrap proposal and the sample questions that matter for your flat gift.