
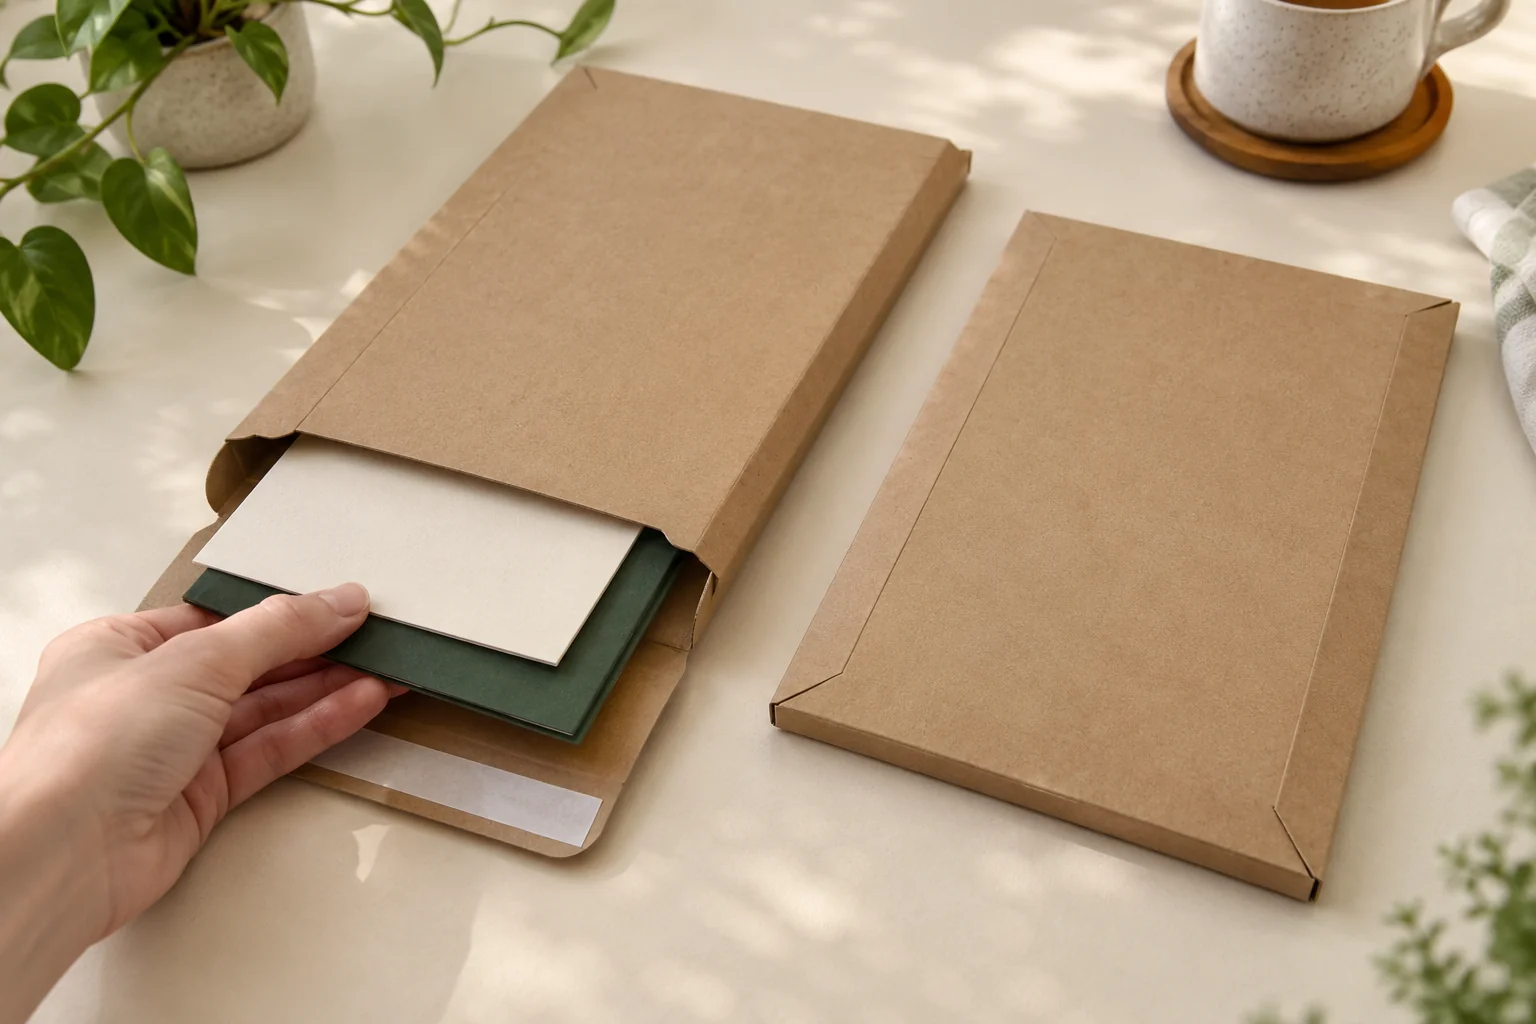
Concept / packaging option. AI-assisted visuals explain the structure; final materials, production details and sample scope are agreed for the project.
Describe the complete flat configuration
List the item, its cover and every additional layer. A greeting card, print bundle or presentation backing can change both thickness and corner contact. Record the contents in the state they will enter the envelope, including any uneven or projecting areas.
Ask for the proposed front and back panel construction, folds and opening geometry. The term “rigid” is a packaging option here, not a measured bending result. If the product has a specific requirement for flatness or handling, identify it for the relevant supplier and agree how it will be reviewed.
Locate the closing flap after the envelope is loaded. A thick item can change where the flap reaches and how the sealing surface contacts it. Describe the intended sealing and customer-opening method, with any tear feature or adhesive component included in the proposed material list.
Mark the outside label orientation on the closed view so shipping information stays clear of the opening feature and closing joint.
Compare an envelope with a wrapping pack
A paper mailer bag brings a different panel and filled-shape discussion. A formed mailer box adds a box cavity and closing-flap sequence. Compare these alternatives against the product’s thickness, corners, loading and opening, rather than assuming every flat gift can use the same outer pack.
For an illustrative print-and-card gift, the small card needs a defined position so it does not enter the flap or customer opening path. A backing sheet might be proposed to support the print, but it should be listed as a separate component with its own material and contact questions.
Prepare a thickness and access brief
| Field | Describe the packed envelope |
|---|---|
| Contents | Complete length, width, thickness, weight and sensitive corners. |
| Layers | Covers, backing, small extras and their positions. |
| Envelope | Panel construction, usable opening, folds and seam layout. |
| Closure | Flap reach, proposed seal and customer access route. |
| Information | Print faces, address area and shipping-label surface. |
| Project | Design quantities, destination, route and sample decisions. |
Specify whether a single configuration or several thicknesses must be reviewed. The measurement method worksheet helps define the assembled condition used for comparison. Keep the empty envelope dimensions separate from those of the sealed parcel.
Review loading, closure and receipt
- Prepare the complete product and its additional layers.
- Load it through the intended opening without forcing corners or edges.
- Inspect the panel shape and flap position with the contents inside.
- Apply the proposed seal and shipping information.
- Open the parcel and remove the contents as the customer would.
- Agree the handling or transport evidence needed for the intended route.
A supplied sample can reveal a tight opening or a flap that reaches the wrong position. Describe that observation against the configuration reviewed. Changes to thickness, panel material or the seal may require the affected access and route questions to be checked again.
Plan the project without assumed postage
Packrivo’s order planning policy is 500 pieces per product / design. Identify the envelope, backing, printed extras and sampling separately. Carrier classification, charges and route suitability depend on the actual shipment; final materials, production conditions, pricing and delivery timing are agreed for the project.
The board-mailer catalogue examples show envelope-like formats with several closure and loading options. Use them as format context; agree the material, packed thickness, closure and carrier classification for the actual shipment.
Get a Quote with the packed thickness and receipt experience. Packrivo helps connect those details to a supplier proposal and a clear sample review.