
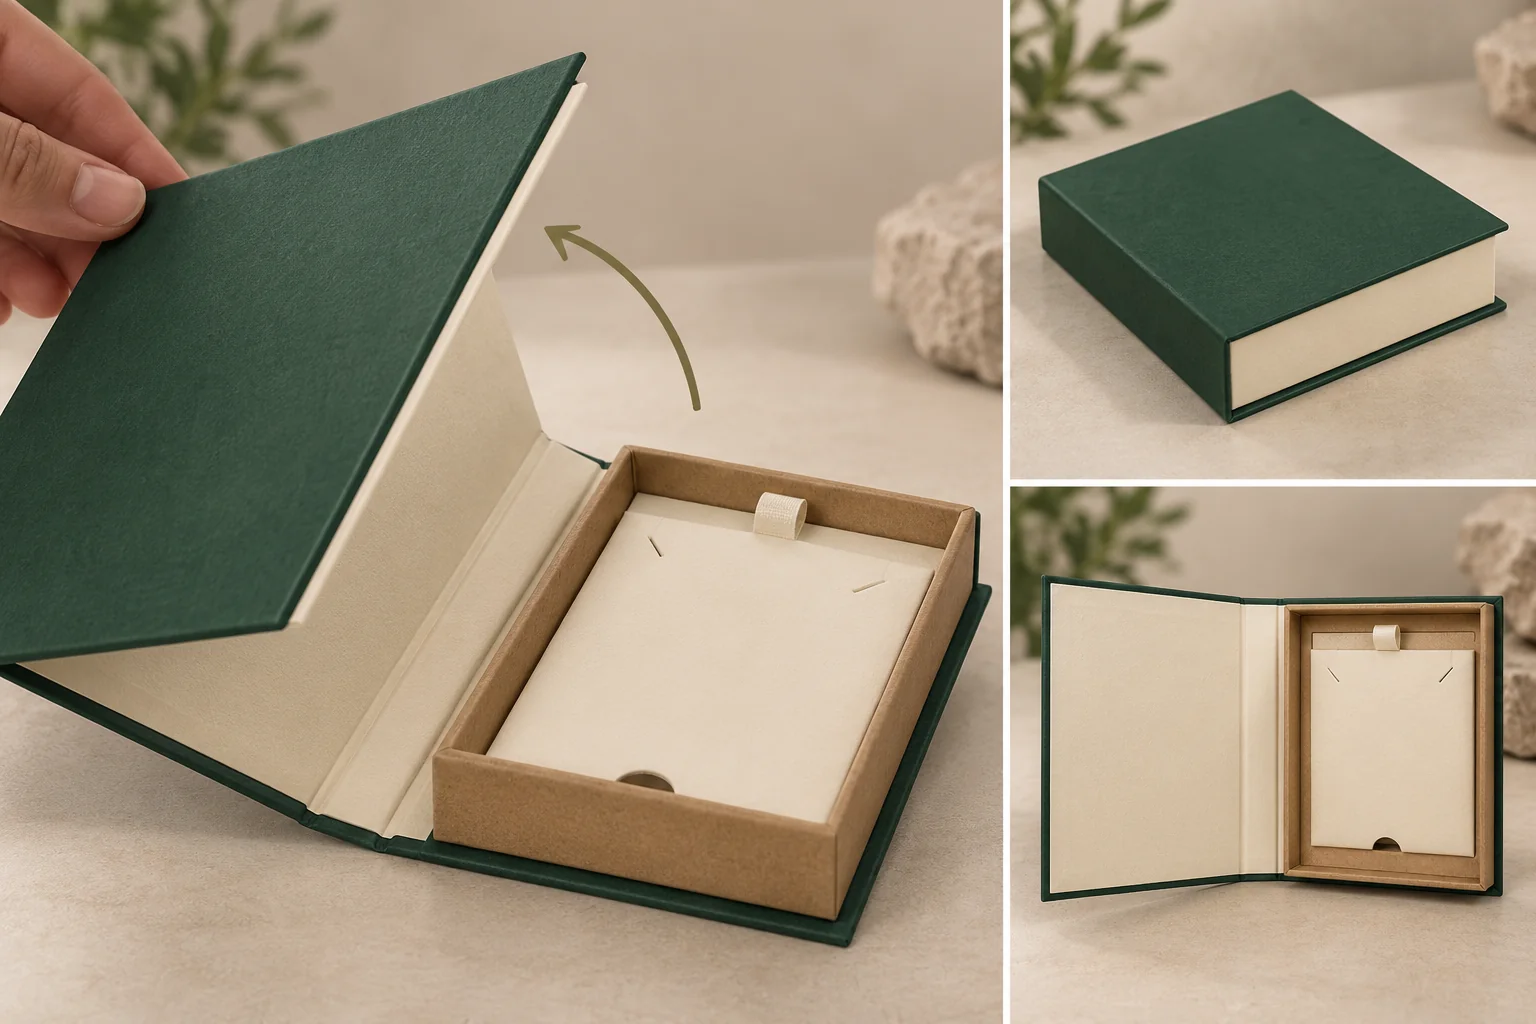
Request a side view identifying the hinge, wrap, tray attachment and selected closure. Specify a magnet or another closure only if it belongs in the proposed construction.
Show the cover and spine as moving parts
The book style rigid box reference describes a book-like clamshell form. Use that narrow relationship to request a side view of the proposed spine and covers. The catalog description doesn’t fix an opening angle or a resting position.
Mark the spine region separately from the printed front cover. Identify which folds or joints move while the tray stays installed. Include the inside wrap where it meets the hinge proposal.
Compare other jewelry opening formats if the product needs a simple lift-off action instead. The book-style job is a connected opening sequence around an installed tray, not merely a book-shaped outside skin.
Locate the tray within the opening arc
Provide the tray envelope, attachment proposal and highest packed point. Show the product and holder in their intended display orientation. The tray’s loose outside dimensions are different from its installed relationship to the spine.
For a hypothetical jewelry gift, a card holder could sit inside a rigid tray while the cover opens to reveal it. Check whether the cover edge or inside wrap meets the tray at the start of that movement.
Choose the view in which the customer removes the product. If the cover needs support to remain in that position, record the support rather than calling it self-standing. Include any proposed stop or restraint in the drawing and the loaded opening review.
Use a spine and tray arc map
Create matching side sketches for the three states. Use the table to retain their different questions.
| State | Parts to relate | Evidence |
|---|---|---|
| Closed | Cover, spine and tray | Complete outside and side section |
| First opening | Moving cover edge and tray | Located contact view |
| Access position | Tray opening and cover resting state | Customer grip and support |
| Product removal | Holder and product envelope | Removal route without changing tray |
| Artwork view | Outer and inner cover faces | Reading direction at actual opening state |
A cover position that looks attractive in a rendering remains a proposal. Review that position on the actual assembled sample with the named tray.
Confirm supply and sample construction
Ask whether the tray arrives fixed inside the cover system or is installed later. Name the attachment and lining responsibility. The delivery state should describe the assembled relationship, not only a list of loose components.
Keep the wrap, material and closure detail tied to the sample revision. If the installed tray position changes, revisit the opening arc and inside artwork. A familiar front design cannot establish an unchanged hinge interface.
Record visible contact during opening and condition after product removal. These observations support a located revision discussion; they don’t demonstrate hinge life, protective performance or a certified structure.
Send the connected opening brief
Submit the spine map, installed tray drawing, complete product envelope, quantity and destination through Get a Quote. The minimum is 500 pieces per design. Final construction, sample work, price and timing are confirmed for the project.