
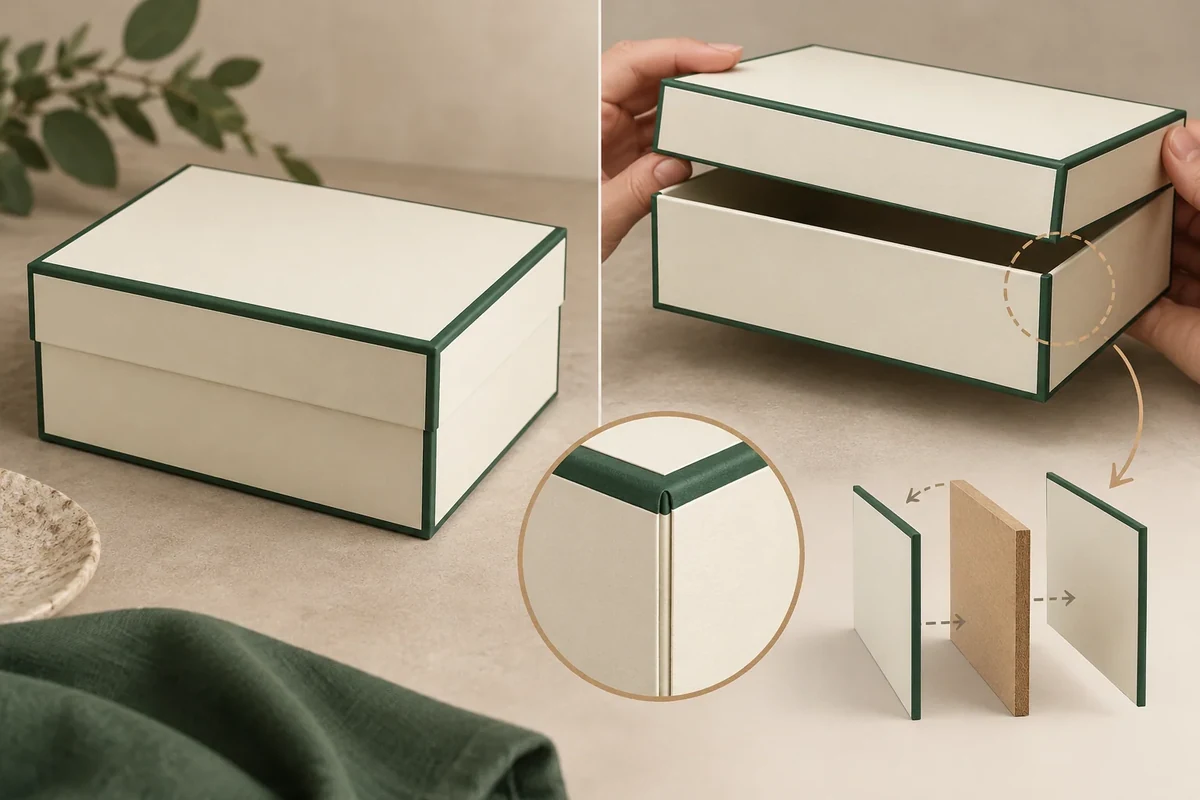
Map rigid-box wrap seams against the views customers actually see: closed front, opened pack and handled edges. Ask for the proposed seam layout and mark where important artwork crosses it. Decide the preferred placement on a formed sample rather than treating the underside as the only possible hidden face.
A rigid box can be turned over while being opened, or held at an angle that exposes a side seam. A front rendering is therefore only one view in the placement decision. Record the others before the wrapping layout becomes fixed.
Get the proposed wrap layout
PackMojo’s rigid-box manufacturing explanation describes a printed substrate wrapped around a formed board structure. That establishes the separate wrap layer. Your supplier must confirm the actual seam, corner and turned-edge layout for the proposed box.
Ask for a marked formed view and, where useful, the wrap layout. Identify joins, corner edges and the main artwork face separately. A wrap sheet is not the same drawing as the underlying board structure.
The jewelry box structure guide helps choose an opening format. This method addresses surface placement once that format has been chosen.
Define the views before ranking seam positions
Choose the closed front view, the first opened view and the likely handling view. Describe the orientation in plain words, such as lid raised while the base rests on a table. If photographs will show an additional underside view, include it.
For each view, identify the faces and edges that matter. Give the main display face a higher priority only if your brief calls for it. A lower-priority face can still carry required information that needs a readable surface.
Mark the proposed seam position on those views. Check whether a logo-free design motif, border or continuous line crosses the join. If alignment matters, state that as a sample question rather than assuming the wrap will meet invisibly.
Keep the placement decision distinct from workmanship acceptance. Choosing a quieter location doesn’t establish an acceptable gap, edge or surface condition. Those criteria need a separate agreement and evidence.
Use a face and seam map
Draw one simple box outline per view, then use the record to connect each marked face to a decision. The table can sit beside your sketches.
| View | Face or edge | Seam relationship | Decision |
|---|---|---|---|
| Closed front | Main front, lid edge and visible side | Seam visible or outside this view | Preferred location and artwork crossing |
| First opening | Inside lid and top rim | Join or turned edge revealed | Priority of visible surface |
| Handling | Grip side and underside | Edge seen while lifting | Acceptable location to discuss |
| Photography | Planned image angle | Seam under actual lighting | Photo reference for sample review |
| Revision | Changed face or artwork | New seam relationship | Views needing another check |
A seam may be invisible in one view and visible in another. Keep both observations; selecting only the favourable photo would make the brief less useful.
Walk through a hypothetical gift box
Suppose an ivory-wrapped lift-off jewelry box has a green border running around the sides. The main product photo shows the front, but the customer grips two opposite sides to lift the lid. The buyer includes both views in the seam map.
The proposed join lies on a side that becomes visible during handling. Rather than asking for an impossible ‘no seam’ box, the buyer asks the supplier to compare another placement and provide formed sample views of the border at the join.
If the supplier explains that the alternate location changes the wrap process, keep that reply in the map. The decision can then weigh the specific presentation request against the proposed construction, without claiming that either version is universally better.
Rank actual views instead of calling a face hidden
For the hypothetical bordered lid, the map can give the closed front view priority P1, the normal opening view P2 and the underside handling view P3. These are project choices, not industry grades. A seam location can then be discussed against a named view without claiming it is invisible in all use.
Attach a sketch to each priority. Mark the proposed seam in a consistent colour and the border crossing in another. If the seam is outside P1 but visible in P2, retain both observations. The supplier can assess a different placement against the full brief rather than one selected photograph.
A specific request is: ‘Please show the proposed join and border relationship in the normal lid-lift view.’ It asks for evidence of the actual interface. A reply with only a closed front rendering leaves that view unresolved.
Keep placement preference and workmanship criteria in different fields. The first says where the join should lie; the second concerns the agreed appearance of that join on the sample. A changed seam placement can reopen the border alignment check even if the box dimensions remain unchanged. That is the revision trigger the artwork team needs.
Give the artwork team a located decision
Send the view sketches, proposed seam layout and any crossing artwork through the packaging enquiry. Mark preferred and unresolved locations separately. Once the supplier responds, review the formed wrap before treating the seam placement as settled for the print file.
Compare two seam proposals against the same three views
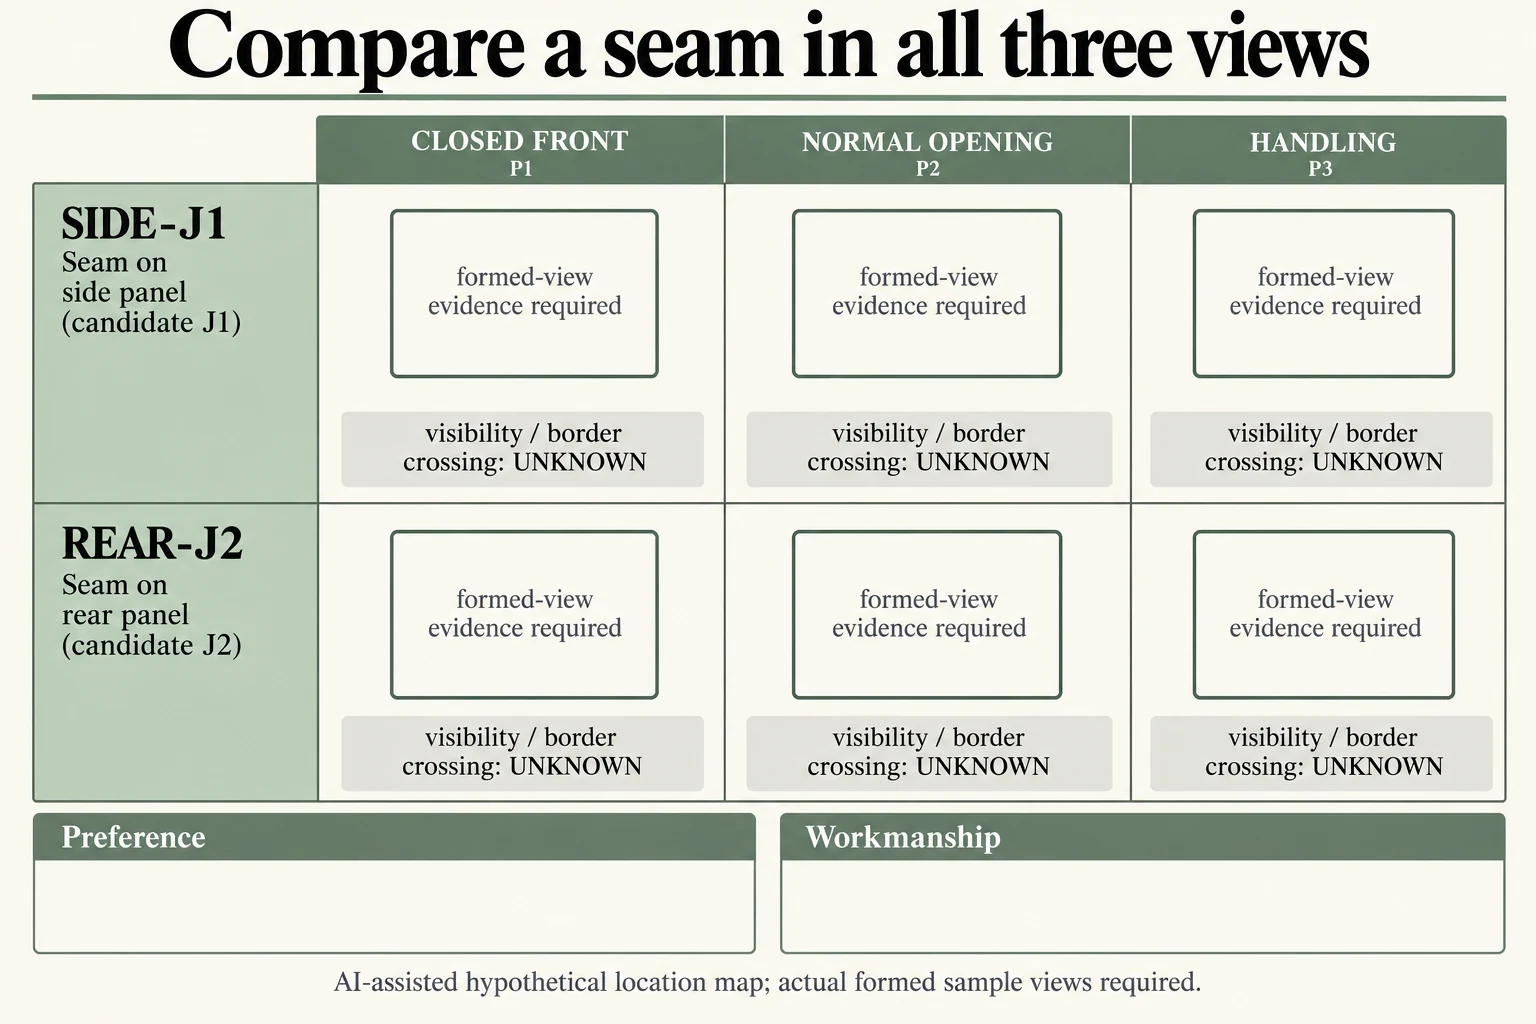
Use the original ivory lift-off jewelry-box example to request two located alternatives: SIDE_OPTION with seam J1 on a side, and REAR_OPTION with seam J2 on a rear face. They are candidate layouts for the same box, not a request to add both joins. Keep the continuous green border and the supplier's actual construction in each request. No seam visibility or alignment result is assumed.
Scroll horizontally if columns extend beyond the view.
| Hypothetical configuration | Named object | Relationship | Input or next scope |
|---|---|---|---|
| SIDE_OPTION | J1 | located on | SIDE |
| SIDE_OPTION | J1 | visibility | CLOSED_FRONT; Unknown pending candidate-specific formed view; outside one view does not mean hidden in every view |
| SIDE_OPTION | J1 | visibility | NORMAL_OPENING; Unknown pending candidate-specific formed view; outside one view does not mean hidden in every view |
| SIDE_OPTION | J1 | visibility | HANDLING; Unknown pending candidate-specific formed view; outside one view does not mean hidden in every view |
| REAR_OPTION | J2 | located on | REAR |
| REAR_OPTION | J2 | visibility | CLOSED_FRONT; Unknown pending candidate-specific formed view; outside one view does not mean hidden in every view |
| REAR_OPTION | J2 | visibility | NORMAL_OPENING; Unknown pending candidate-specific formed view; outside one view does not mean hidden in every view |
| REAR_OPTION | J2 | visibility | HANDLING; Unknown pending candidate-specific formed view; outside one view does not mean hidden in every view |
Cross each option with the same closed-front P1, normal-opening P2 and handling P3 views. For every option/view pair, record visibility and the border relationship separately. This produces six view comparisons and twelve distinct questions. A response showing only the preferred front photograph leaves the remaining views open, including the lid-lift and grip views that can expose another face.
The priority order P1/P2/P3 belongs to this fictional brief. It does not remove the lower-priority views from the record or mean that any seam on the underside is automatically acceptable. A buyer might prefer the rear proposal for one view but still need the converter's response about border continuity or a different wrapping operation. Keep that trade-off explicit rather than averaging the views into a made-up quality score.
After receiving formed views, decide placement preference separately from workmanship. The first selects a location under the named presentation priorities. The second needs the actual agreed appearance criteria and sample evidence for the join. A moved seam may keep the outer dimensions unchanged while reopening the border relationship. The worksheet's unknown cells and blank actual fields let those two decisions close at different times without pretending that either option has already been built.
Download the rigid box wrap seam placement record (.csv). It includes the original table fields and scenarios alongside the added relationships. HYPOTHETICAL rows are editorial examples or required review scopes, not actual records. Actual quantity, configuration, component and file identities, materials, process, specification, copy, method, condition, observation, owner, decision, evidence and dates are blank. ACTUAL_BLANK is a separate empty starting row; enter permitted project evidence before using an actual record. A blank means unknown.
Use the Packaging Sample Revisions: Compare Versions Before Approval for its separate question. Use the Packaging Print Finishes: A Supplier Brief Checklist for its separate question.
References apply to the materials, processes or guidance named in each source. Worked configurations and dimensions are teaching examples, not tested specifications or production limits. Use the project’s material specification, drawing and formed sample for approval.
Discuss this packaging specification with Packrivo. We coordinate independent suppliers. MOQ: 500 pieces per product/design; illustrative quantities are not production offers. Confirm materials, samples, price and timing for your project.