
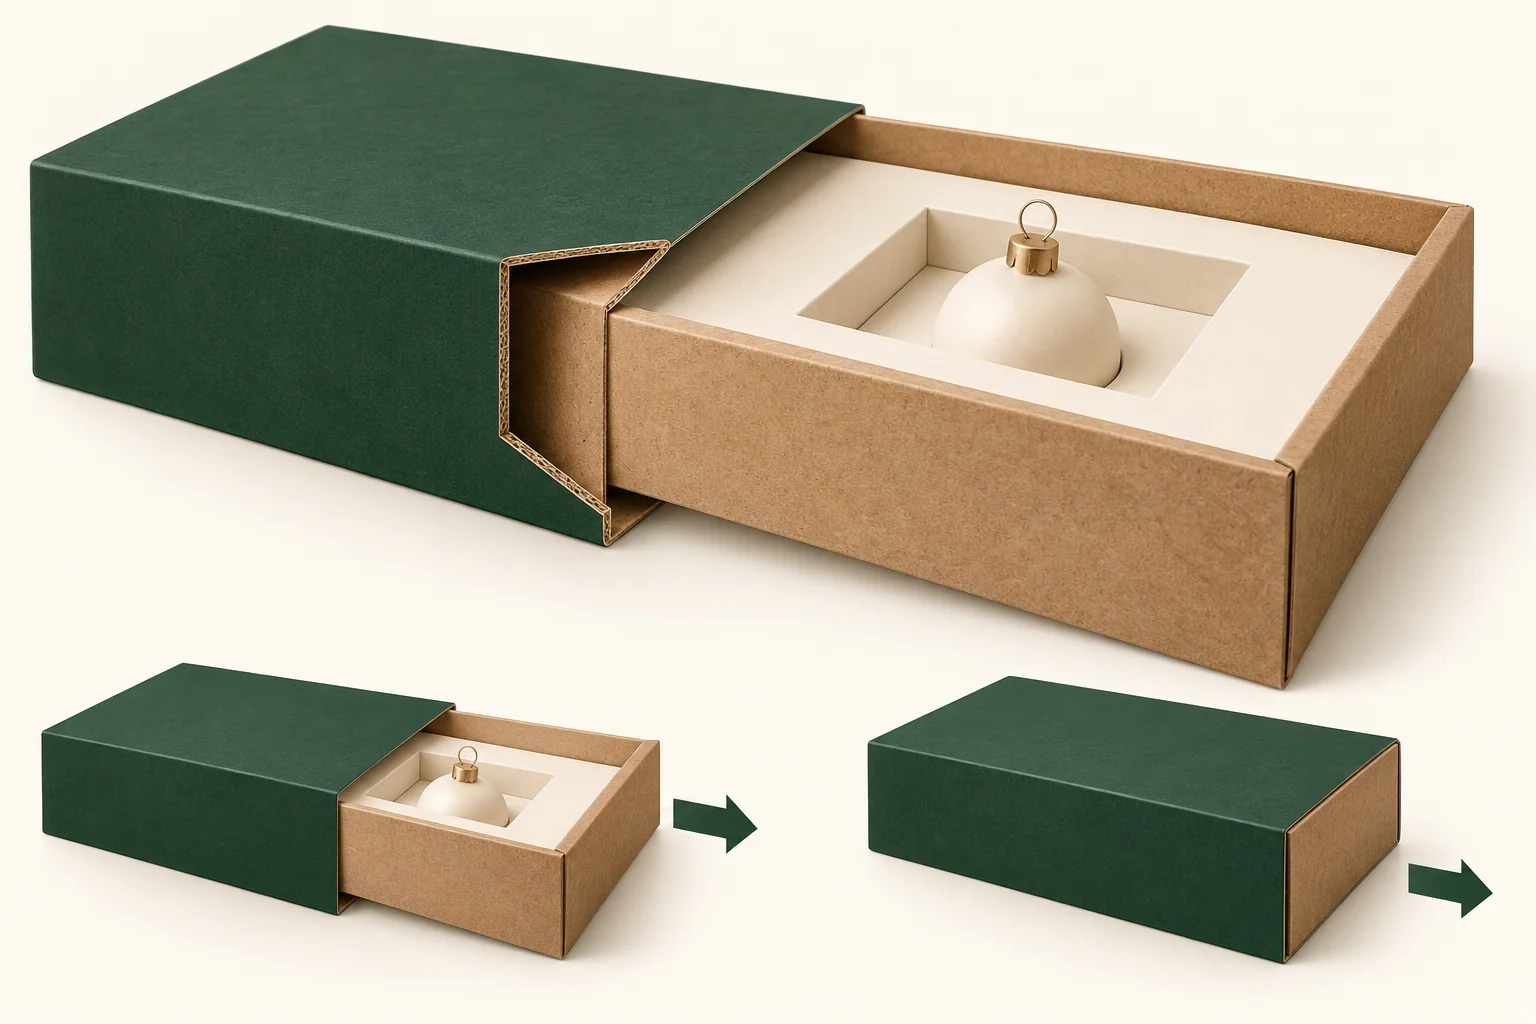
The frame tray and enclosing sleeve are separate components with a moving interface. Their material, fold and seam details belong on the same sample record. A closed beauty view conceals most of that interface.
Draw the frame perimeter and sleeve interior
The frame tray and sleeve reference identifies a double-wall frame tray paired with a sleeve. Ask for the proposed drawing to show which perimeter parts travel nearest the sleeve walls and where its seam lies.
Label the tray’s outside envelope separately from the visible frame opening. Add the highest point of the complete contents. Keep the sleeve inside dimensions and prepared seam on a second component view.
Compare the frame tray and lid option when a lift-off action suits the pack better. The extra requirement here is clearance during movement rather than just paired closure.
Run entry and removal with the frame loaded
Form the double walls and frame as proposed, then load the actual holder and product. Insert the tray along the intended direction. Pause at entry, midway and the final closed position.
For a hypothetical ornament gift, the frame may surround a product that stands slightly proud of the opening. Record that loaded height and view its route past the sleeve edge. An empty tray trial would leave that question unanswered.
Keep the sleeve in a consistent position during comparison. If the reviewer squeezes it or rotates the tray to get past a contact, record that action. Don’t treat the adjusted maneuver as evidence that the intended route works.
Use a travel contact map
Assign contact locations on a simple perimeter sketch. Each observation should include the travel stage and which component touches.
| Travel stage | Area to inspect | Record |
|---|---|---|
| Entry | Leading frame edge and sleeve mouth | Initial alignment and first contact |
| Midway | Frame sides and internal seam | Location of rubbing or obstruction |
| Closed | Loaded height and end position | Seated envelope and available grip |
| Removal | Trailing edge and product height | Exit contact and customer action |
A contact at the mouth and a contact along a seam are different issues. Send separate marked photographs so the supplier can compare them with the construction drawing.
Agree supplied preparation and the opening end
State how tray and sleeve arrive and who forms each. Request a view of prepared double-wall folds and the sleeve seam. Confirm whether either end is closed and how the customer begins removal.
Review the final proposed board, caliper, print and surface finish after the route is defined. If those details change, reopen the movement check. A material name without a sample revision cannot establish the same interface.
Inspect the frame and sleeve surfaces after the agreed actions. Record visible contact marks as sample observations. This method doesn’t quantify wear life, friction or protective performance; any required evaluation needs its own scope.
Mark which frame edge leads during entry. A tray may look symmetrical from above while its folds or product arrangement differ at the two ends. Reversing it during a trial changes the travel map. If both directions are permitted, keep two records with their respective leading edges and compare the same stages.
Send the movement evidence
Provide both component drawings, the loaded envelope, travel map, quantity and destination through Get a Quote. The minimum is 500 pieces per design. Final construction, sample work and commercial terms are confirmed for the project.