
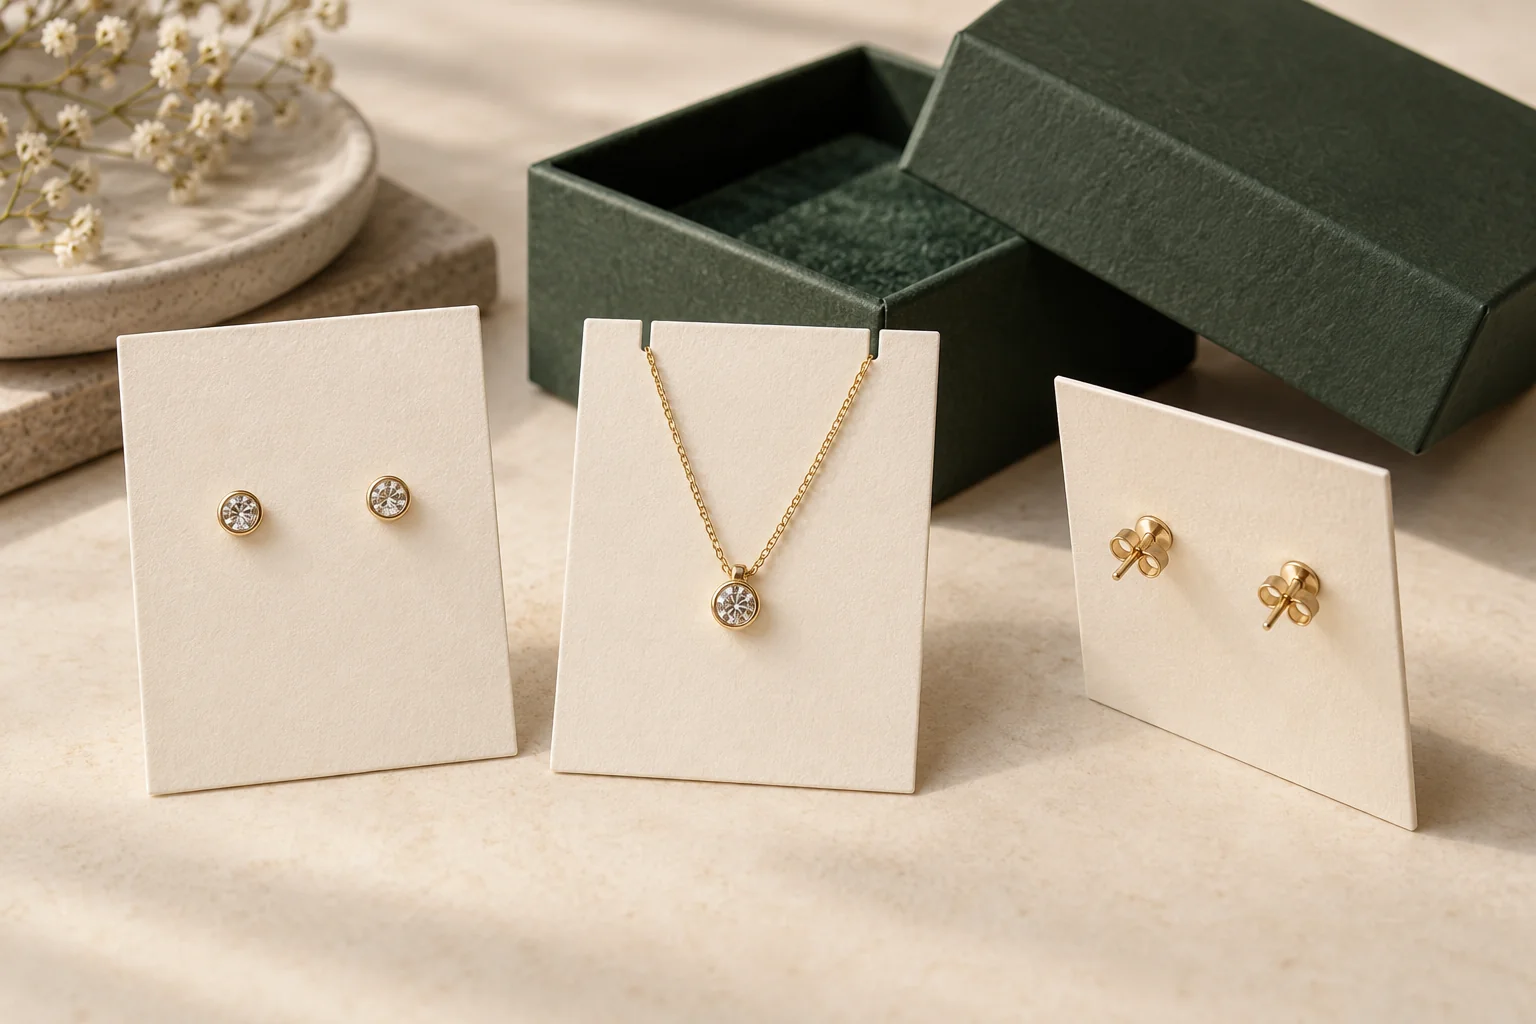
Concept / packaging option. AI-assisted visuals explain the structure; final materials, production details and sample scope are agreed for the project.
Map the front and the back
The customer’s view shows only part of the arrangement. Earring posts, backs, clasps and chain storage can project behind the card. Record those parts in the mounted position and identify what they may touch. A card that sits flat by itself can require additional depth when the jewelry is attached.
Describe each attachment point by its job: holding an earring pair level, routing a chain, retaining a pendant or leaving a removal route. Ask for the proposed hole or slot geometry against the actual piece. An attractive pattern of cuts is not enough to identify how the item is loaded or removed.
Keep hanging or retail-fixture holes separate from jewelry attachment points. One supports the presented pack on a fixture; the other positions the jewelry. Combining their purposes without a layout can change the visible orientation and make the back of the card difficult to access.
Reserve clear space around each attachment for the assembly action. Front artwork and back copy should be reviewed with the jewelry mounted.
Choose mounting rather than just information space
An information card carries instructions or brand copy. A mounting card adds an attachment and contact task, even when both are printed on similar material. A shaped box holder creates another set of loading and removal questions.
Decide whether the card travels in a pouch, rests in a box or hangs openly. That decision controls its outline, accessible edges and complete packed thickness. The jewelry measurement guide can help record posts, clasps and projections that the surrounding package must accommodate.
Prepare an attachment layout brief
| Field | Record for the proposed card |
|---|---|
| Jewelry | Piece count, geometry, weight, sensitive surfaces and mounted position. |
| Attachment | Hole or slot locations, loading order, back fasteners and chain routing. |
| Card | Finished outline, proposed material, folds and accessible removal edges. |
| Surrounding pack | Pouch opening or box interior, complete thickness and packing sequence. |
| Front and back copy, cutout positions and protected artwork areas. | |
| Scope | Quantity by design, who mounts the jewelry and what the sample must answer. |
For an illustrative necklace-and-earring set, the earrings may use front holes while the chain routes to the back. Show where the clasp sits and how the buyer releases the necklace. If a product variant changes those positions, review it as a mounted arrangement rather than substituting a photograph into the same artwork.
Review the mounted piece, then its package
- Attach the actual jewelry using the proposed process.
- Inspect position, contact surfaces and the back of the card.
- Place the mounted card in its intended pouch or box.
- Open the complete pack and take out the card by hand.
- Remove the jewelry without making a new hole with the piece itself.
- Record changes to the cuts, copy, material or surrounding pack.
The original jewelry display-card guide demonstrates why jewelry attachment needs deliberate holes and routing. Use its method discussion for context; supplier-specific cutting dimensions and production instructions still need to match your actual design.
Plan design quantities and mounting work
Packrivo’s order planning policy is 500 pieces per product / design. Record different card artworks and attachment layouts as design questions, with the proposed mounting work and packaging components identified. Final material, pricing, production conditions and sample scope are agreed for the project.
Get a Quote with front and back views of the mounted layout and the removal you want. Packrivo helps connect the card, jewelry and surrounding pack before the sample review.