
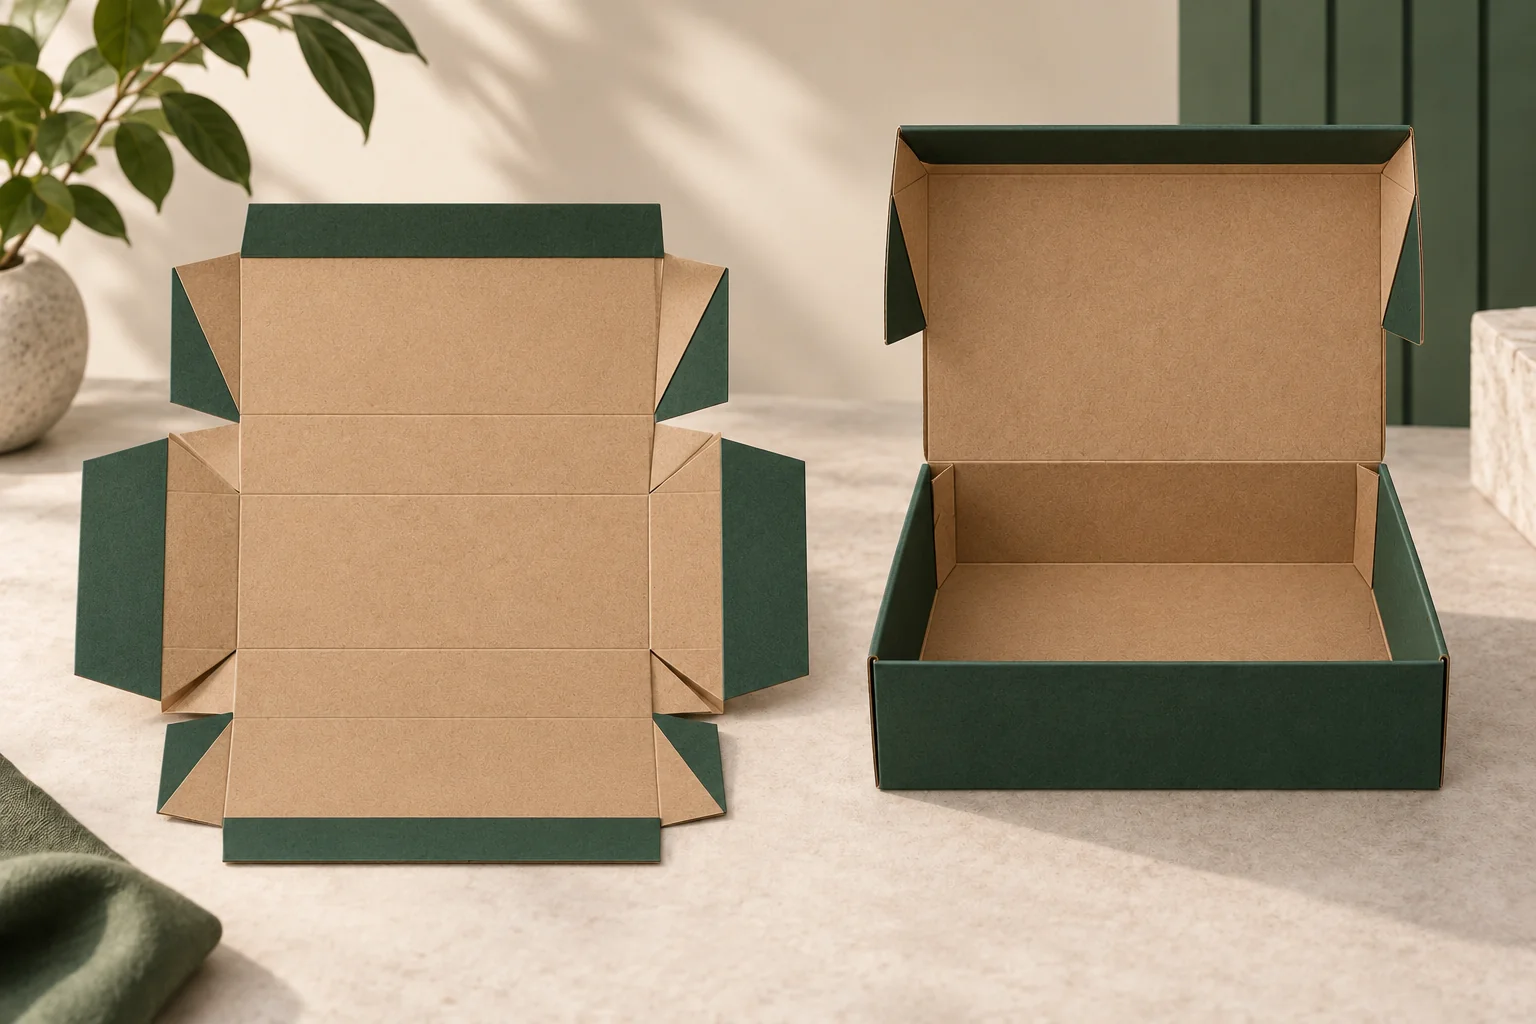
This option focuses on a prepared folding structure. Its useful difference is the setup operation, including the lid’s formed corners. Product support and transport protection remain separate design questions.
Locate six joints on the actual proposal
The six corner catalogue reference describes a collapsible hinged-lid box with six pre-glued corners. Request the supplier’s drawing for your version and label the joints there. A photograph of the closed box hides the parts that matter during setup.
Keep a joint index, such as J1 through J6, on a working copy of the drawing. Identify which joints belong to the base and which shape the attached lid. Don’t assign a glue area from a concept image; the proposal should specify the actual prepared areas.
The existing foldable gift box collection helps compare broader formats. Here, keep the decision on corner formation and the relationship between supplied state and the packing bench.
Run setup before adding the product
Request a sample in the agreed delivery state. Photograph it before forming, then follow the proposed setup sequence without adding adhesive or improvised tabs. If extra work is required, record it as a change to the supplied-state brief.
Watch each prepared joint while the walls rise. Photograph any corner that remains folded inwards, twists or needs a second movement. The observation should identify the joint and action, not blame the structure as a whole.
For a hypothetical candle-and-card gift set, first form the empty base and lid. Only then add the holder, candle and card. That order lets you distinguish a setup issue from a product that blocks a wall or the lid.
Keep setup and closure evidence in separate columns
Use this checkpoint record for one drawing revision. The supplied-state photo and the fully formed view should show the same sample.
| Checkpoint | State to show | Question to resolve |
|---|---|---|
| Joints J1 to J6 | Before and after forming | Does each reach the drawn position? |
| Attached lid | Raised with its corners formed | Is the lid shape complete before closing? |
| Holder insertion | Loaded base with lid open | Does loading disturb a prepared corner? |
| Final closure | Loaded and closed | Which edge or contents contact the lid? |
Keep board grade, caliper and print specifications attached to the sample record. A corner review made on another material is useful exploration, but it doesn’t close the final material decision.
Define what staff receive and complete
Ask whether inserts, cards or wraps arrive separately. Identify who forms the carton and when the holder is fitted. The flat and assembled delivery guide helps frame that handoff without treating all flat packs as the same.
Repeat lid opening and product removal after the full set is loaded. Check corner positions again afterwards. Setup observations don’t establish a load capacity, and a tidy closure doesn’t establish shipping performance. Agree any required handling or distribution evaluation separately.
Count the forming actions as described, without presenting a timed productivity result. A proposed carton may need staff to raise a lid corner after the base is formed. If that is part of the confirmed sequence, place it before loading in the instruction. Prepared joints and a completely formed package are different states, so retain a photograph of each.
Send a prepared-joint brief
Include the joint-marked drawing, supplied-state request, complete contents, packed dimensions, quantity and destination in Get a Quote. The minimum is 500 pieces per design. Proposed materials, component grouping, sample scope and commercial terms still require project confirmation.