
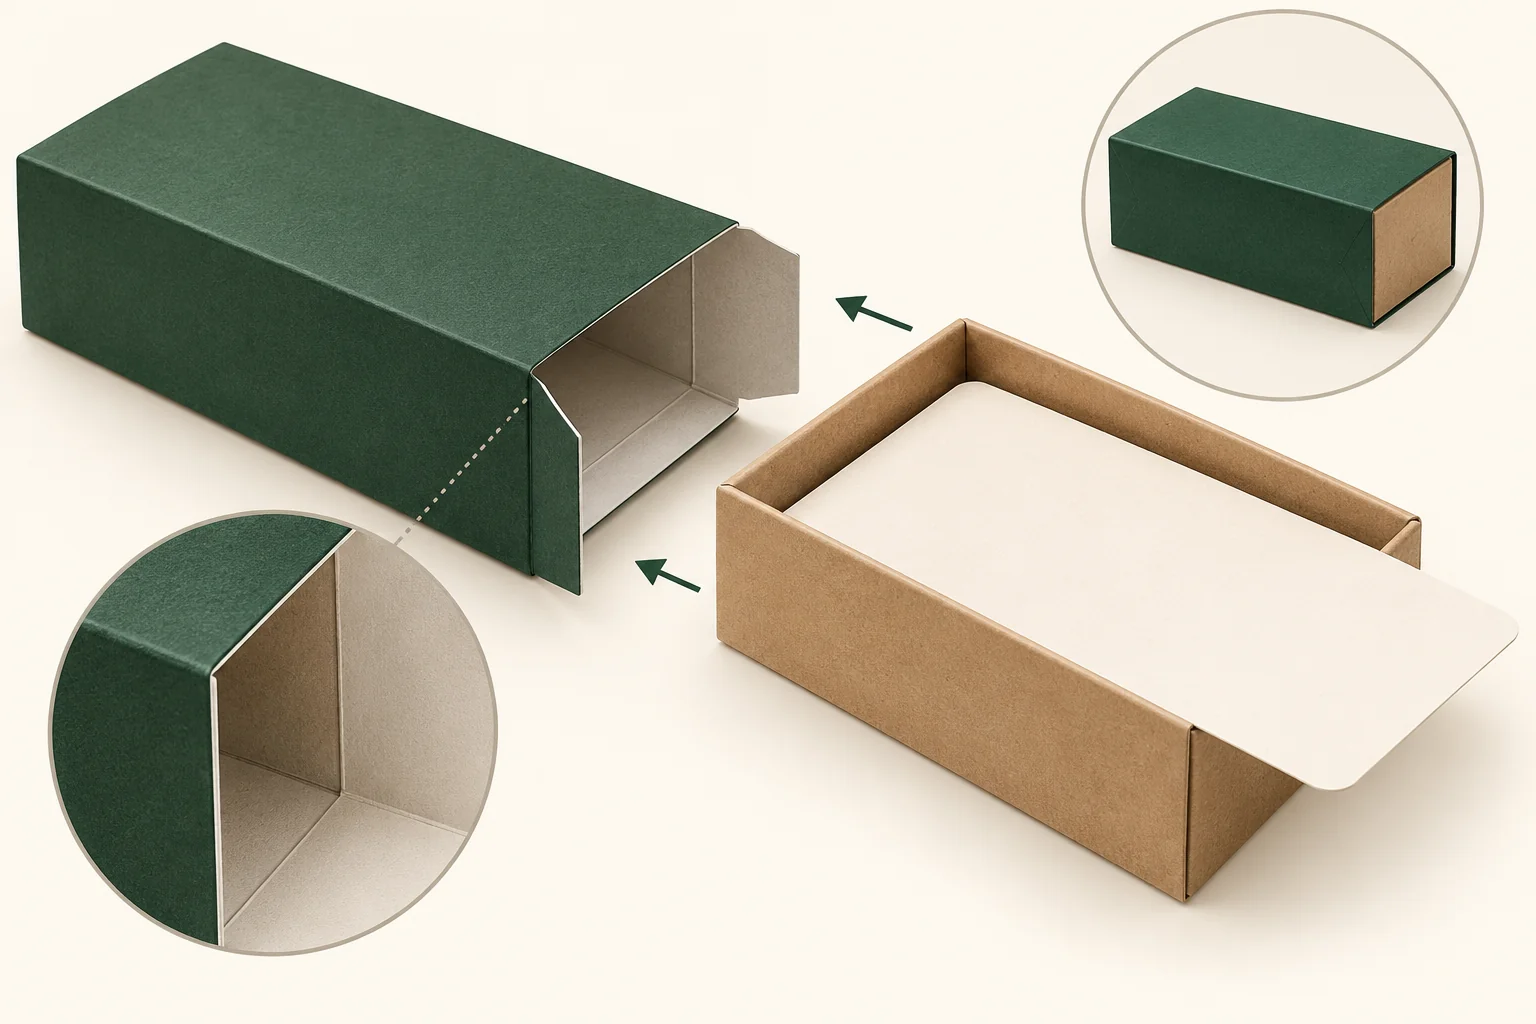
This option combines an enclosing sleeve with an end feature. Identify the inner item as its own component, whether it is a tray, wrapped set or another defined pack. A sleeve-only mock-up can’t settle fit around the complete contents.
Draw the inner item and sleeve separately
The tuck end sleeve catalogue describes a sleeve with a one-sided tuck end and top-panel lock. Confirm the proposed version on a supplier drawing, including which end remains the access route.
Mark the sleeve seam, entry end and closed end. Show any inner tray at its packed outside dimensions, not only the dimensions of the loose product. Add a formed view of the tuck area so its final position inside the sleeve is visible.
Compare the existing tuck-end carton option when no separate inner item is required. The extra job here is the interface between the sleeve, inner pack and closed end.
Check the inner item before closing the end
Insert the complete inner pack along the planned route while the end closure remains open. Note any contact with the seam or fold areas. Keep the pack orientation fixed so a rotated successful trial doesn’t conceal the original issue.
A hypothetical accessory tray with a raised card edge may slide freely when empty but contact the sleeve when loaded. Show that raised edge in the product envelope and photograph where contact starts.
Next, close the tuck end as proposed. Inspect whether a flap pushes against the inner tray or covers a removal grip. If the closure is intended to remain shut during use, describe the opposite access route rather than asking the customer to open an unplanned end.
Record three routes
The same component revision should appear in all three rows. Keep the actual material description with the record.
| Route | State | Evidence to capture |
|---|---|---|
| Entry | Loaded inner pack, closure open | First contact and final seated position |
| Closure | Inner pack fully inserted | Flap position relative to tray and product |
| Exit | Customer opens intended end | Grip and removal without disassembly |
| Seam interface | At entry and exit | Any contact with prepared overlap |
A tight entry and a blocked exit need different revision questions. Keep the location and action in the record rather than using one general fit score.
Specify preparation and final materials
Confirm whether the sleeve seam is prepared and which end arrives open. State who fits the inner item and completes the closure. If components arrive separately, keep their counts and design grouping explicit.
Review board, caliper, printed surfaces and any inner-pack wrap on the final sample. A change to the sleeve seam or inner tray can affect the contact map. Repeat the route checks after that change.
Inspect the end flap and inner pack after removal. These observations help clarify fit and use; they don’t establish repeated-use life, protection or a maximum load. Agree any required handling assessment separately.
Where the sleeve has a designated closed end, state whether the inner tray must reach it during packing or remain at another defined position. Ask the supplier to show that seated state. A tray pushed farther merely to align outside artwork can change the flap interface, so keep seating and print alignment as separate observations.
Bring both component envelopes
Send sleeve and inner-pack drawings, packed dimensions, entry and exit observations, quantity and destination through Get a Quote. The minimum is 500 pieces per design. Final construction, materials, sample scope and commercial terms need project confirmation.