
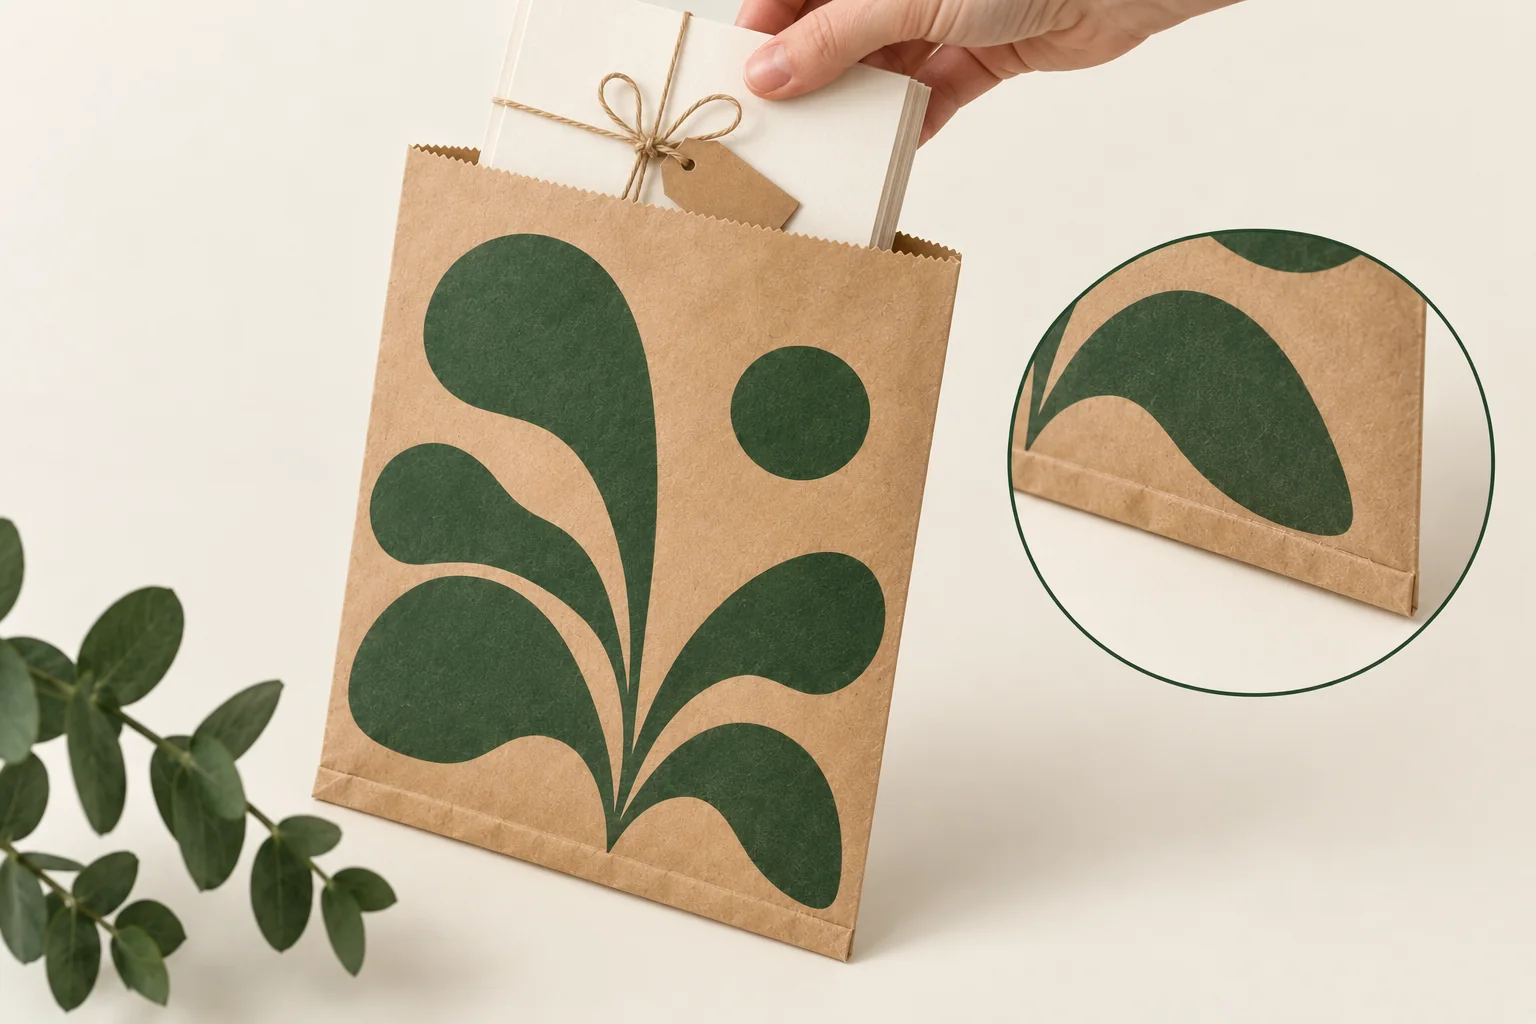
This is a packaging concept for a flat bag, with the material, bottom construction and any top-closing action confirmed for the project.
Identify the flat variant rather than a carrier bag
Paper Mart’s flat merchandise bag page includes a No Gusset option and shows bags with an open serrated mouth and no carry handles. Its range also includes gusset variants, so keep the selected no-gusset form explicit in the brief.
Novolex’s Duro product line card places merchandise bags within its Pinch Bottom Bags group, separately from SOS and die-cut handle bags. These references establish a flat merchandise/pinch-bottom option; they do not supply the seam dimensions or usable cavity of your proposed bag.
Draw the two opposed faces, entry edge and closed lower edge. Ask the supplier to identify its longitudinal seam and bottom joint on that drawing. Do not invent a joint recipe from a front-view photograph.
Review a flat pocket around the complete contents
Measure the sale-ready bundle with backing, tags and inner wrap. Keep its orientation during entry fixed. A thick addition or projecting tag can create a mouth or seam-contact question that outside width alone leaves open.
For a hypothetical gift-card bundle, mark a tied tag’s projecting point TP1 and the pocket mouth M1. Record where first contact occurs while the buyer uses the planned insertion grip. Do not rotate or compress the bundle without adding that action to the record.
The expandable parcel bag option reviews gusset expansion and seal reach around different fills. This flat pocket instead asks how one named merchandise envelope passes the mouth and sits against a closed bottom without a formed side gusset. It also differs from an SOS bag whose base is opened before loading.
Use a mouth-to-bottom fit record
Copy these fields into the brief. The example locations help the supplier find an observation; they are not specified tolerances.
| Location or state | Input to identify | Observation to keep |
|---|---|---|
| Flat form | No side gusset; two faces and bottom-joint drawing | Received flat configuration matches the selected variant |
| Mouth M1 | Usable opening and full bundle entry orientation | First contact at tag TP1 or another named point |
| Longitudinal seam | Supplier-marked seam location | Bundle edge beside it during entry and removal |
| Pinch bottom B1 | Actual closed-bottom construction and usable depth | Lower bundle edge in the loaded pocket |
| Top treatment | Left open or separately proposed closing action | Space and work remaining above the merchandise |
| Customer removal | Grip and exit route through M1 | Changed hand action or contact requiring review |
Inspect the delivered pocket before adding artwork
Confirm whether the bottom and longitudinal seam arrive completed. Receive the sample in the proposed material, then inspect the mouth, joint locations and flat state before loading it. Identify any substitute model separately.
Insert the complete bundle, locate its lower edge against B1 and review removal through M1. If the supplier changes the mouth or joint position, repeat those same actions. The front artwork can remain unchanged while the usable pocket changes.
If a carry grip is required, compare the gift carrier and tissue set. A flat pocket’s fit record does not establish carrying capacity, a barrier or distribution performance.
Submit the selected flat construction
Send the no-gusset drawing, complete merchandise envelope, mouth and bottom observations, top treatment, quantity and destination through Get a Quote. The minimum is 500 pieces per design. Final construction, sample scope and commercial terms require project confirmation.