
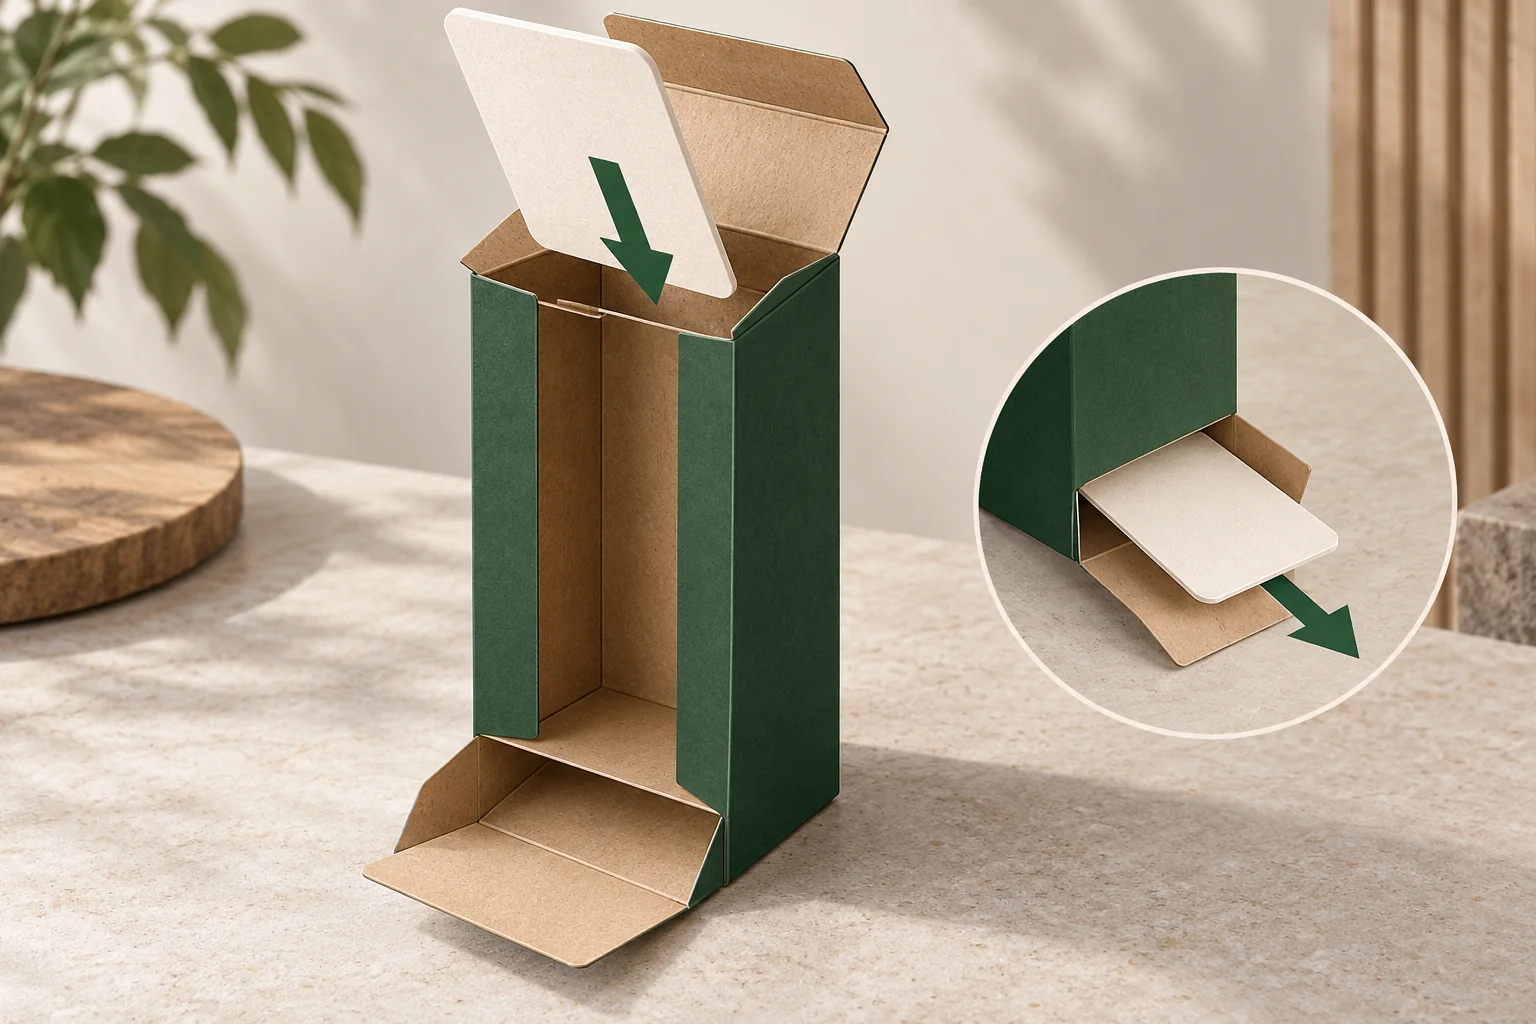
This is a packaging option for an inquiry. The board, dimensions, closure detail and delivery state need a project proposal and sample review. Start with the product in its sale condition, including any card, wrap or holder that travels inside the carton.
Make the opposite ends visible on the drawing
PakFactory’s reverse tuck reference identifies a reversed bottom end compared with the straight tuck style. Use that narrow structural distinction to discuss flap orientation; it doesn’t establish the strength of your finished pack.
Mark the front panel with a plain arrow on your working drawing. Next, mark the hinges of the top and bottom tuck flaps. Keep those marks in a structural layer so the artwork team can see which panel each end folds towards.
A long product may enter from one end yet need removal from the other. Identify that intention explicitly. If either end may be opened in retail use, review both actions rather than treating the bottom as invisible.
Keep the loading route separate from the printed front
A hypothetical jewelry card has a hanging hole at one end and a thicker ornament at the other. The card can be placed into the carton with its ornament leading or trailing. Those two loading routes deserve separate trials because the card and end flaps meet in different places.
Lay the loaded carton down in the intended sales orientation. Open the customer end without rotating the pack to make the action easier. Observe where fingers enter, whether the product catches on a flap, and which printed panel is visible during removal.
Compare this with the existing tuck-end gift box option when you only need a general carton brief. The extra decision here is the relationship between two opposed end closures and two different users.
Use an end-by-end configuration record
Fill this record against a numbered drawing revision. An empty cell means the decision remains open; it should stay visible in the inquiry.
| End | Action to agree | Sample evidence |
|---|---|---|
| Packing end | Entry face and leading product edge | Photo before the last flap closes |
| Customer end | Opening face and grip route | Photo with the product partly removed |
| Opposite end | Tuck direction and flap overlap | Closed end and reopened end |
| Artwork | Front face, back face and reading direction | Loaded pack standing in sales position |
Review board grade and caliper independently of this end map. If a proposed insert changes the product’s height or orientation, repeat the removal check with that insert in place.
Agree what arrives at the packing bench
Request a photo or drawing of the carton as delivered, not only as assembled. State whether a side seam is prepared, which end remains open, and who forms each closure. Storage and packing plans should use that supplied state.
On the sample, close each end in the proposed sequence, check the print direction, and remove the product through the intended opening. Record a visible obstruction as a location and action rather than a general comment such as ‘too tight’. These are fit observations, not a transport test or a load rating.
Keep a separate end-map row if the same carton proposal is being discussed for a second product card. Identify the card’s leading edge and removal face again. Sharing a printed design doesn’t make two loading routes identical. The comparison should show which product configuration was actually reviewed through each end.
Send the two routes with your inquiry
Send product dimensions, the complete packed contents, your end map, destination and quantity through Get a Quote. Packrivo’s minimum is 500 pieces per design. Materials, sample scope, price and timing are confirmed for the project after the brief and supplier questions are reviewed.