
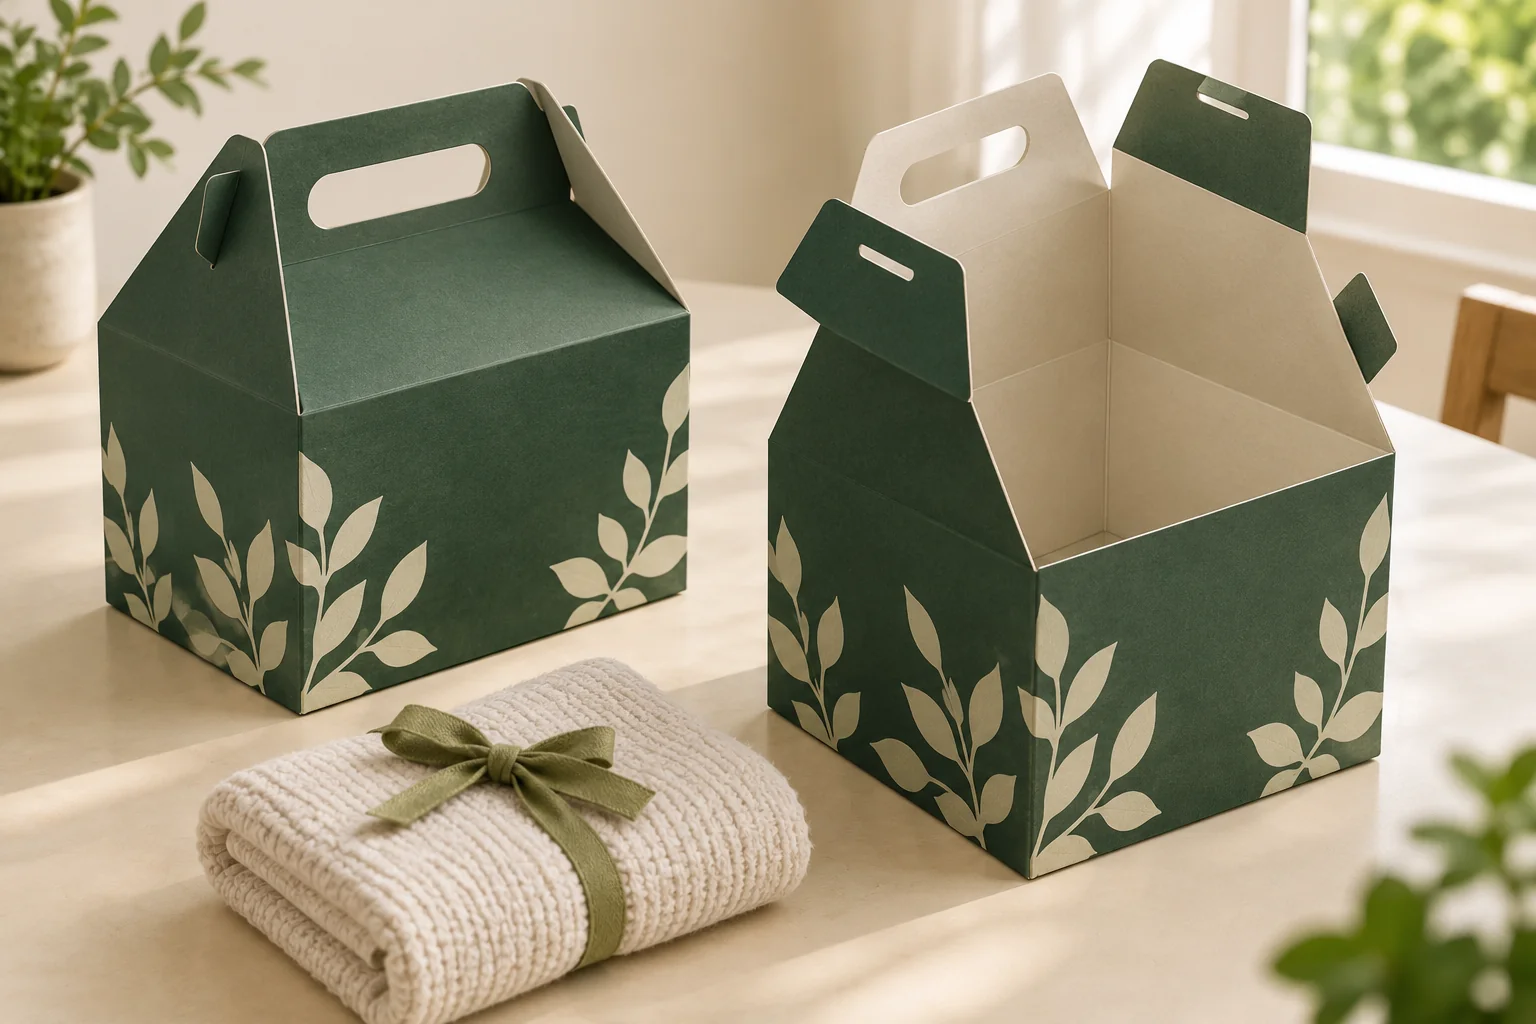
Concept / packaging option. AI-assisted visuals explain the structure; final materials, production details and sample scope are agreed for the project.
Follow the structure through the top
The raised top changes the carton silhouette and the space available for loading and closing. Ask which panels create the handle, how those panels join and which tabs or folds hold the top in position. A drawing should show the opening before loading and the closed carrying state.
Keep the usable product cavity separate from the raised top. A vessel or accessory should be described in the position it occupies inside the main body, including its holder and any card. Then identify whether a projecting part comes near the sloping top panels or the handle attachment.
Describe the person’s carrying action. The opening needs to suit the intended grip, while the assembled package has to be assessed for its actual weight and handling conditions. Ask the responsible supplier to propose the construction and relevant review. Avoid selecting a material or accepting a carrying claim from the handle’s appearance alone.
Compare carrying and presentation tasks
A standard folding carton can place the emphasis on loading and end closure. A gable format brings the carry feature into the carton itself. A separate gift bag and tissue set creates a different component list and handoff sequence. Compare the complete job rather than treating the bag or handle as interchangeable decoration.
For an illustrative candle gift, the jar, insert and information card need to be inside the layout used for review. The top panels might need space to fold around that arrangement. The carry action also depends on the base and the insert, so the handle review should refer to the same complete configuration.
Prepare the carry and loading brief
| Brief field | Specify or identify as open |
|---|---|
| Product layout | Complete contents, weight, display orientation and projecting parts. |
| Body | Usable interior, loading opening, base and holder arrangement. |
| Raised top | Panel construction, closing sequence and space above the product. |
| Carry feature | Grip opening, attachment, intended handling and review requirement. |
| Presentation | Print orientation on the body and top, including folded areas. |
| Scope | Quantity by design, supplied state, assembly responsibility and destination. |
The measurement method worksheet helps separate the body cavity, overall height and grip opening. Name their locations so a quote or sample drawing does not silently substitute one measurement for another.
Review the complete carry sequence
- Form the base and top using the proposed instructions.
- Load the product, holder and printed extras in the intended order.
- Close the top and inspect tabs, folds and any attachment points.
- Review the agreed carry action with the actual loaded configuration.
- Open the package and remove the product using the intended route.
- Inspect the handle, base and contact areas after that review.
Record an issue at its location: a top panel catching a card, an uncomfortable grip or a tab that does not reach its intended position. A change to the handle can affect the top artwork and the supplied flat layout, so keep the structural and print versions paired.
Agree the project conditions
Packrivo’s order planning policy is 500 pieces per product / design. Separate the carton, holder and additional components in the proposal. Final construction, material, pricing, production conditions and delivery timing are agreed against the reviewed brief.
The original gable-box structural reference provides a named example of the raised-top format. A project-specific carrying review is still needed for the proposed contents and construction.
Get a Quote with the product, loaded weight and handoff you want. Packrivo helps connect the handle, base and opening questions before the next sample is approved.